Sitewide Search
What's new.../ Gallery
- 28 Dec 2012
1972 Stock Westy - 27 Nov 2012
Gareth's 21 Window Samba - 20 Nov 2012
The Beast Is Back ! - RSS Feed

- More >>>
More Info
How to...
Projects
Gallery/Resources
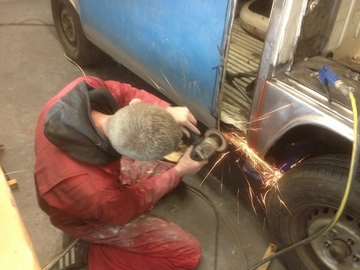
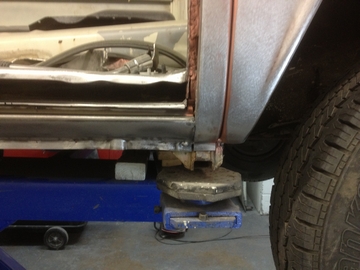
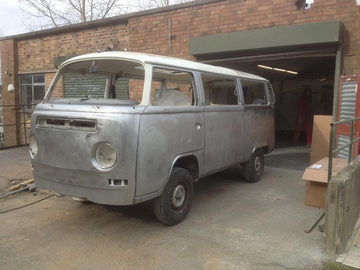
1972 Stock Westyposted on 28 December 2012 | posted in 1972 Stock Westy | ( 0 ) CommentsHere's Stuarts 1972 Stock Westy brought to us from the Netherlands to undergo a Bare Metal body restoration, here's how we found it and what we uncovered. 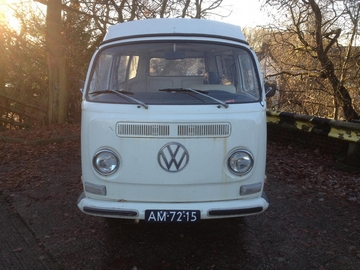 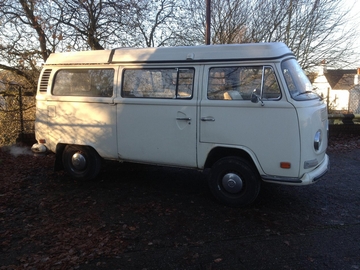 No seams and signs of accident damage 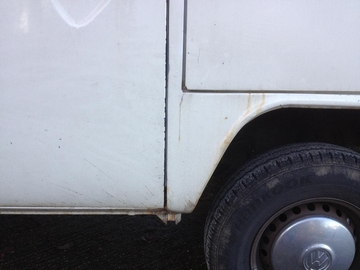 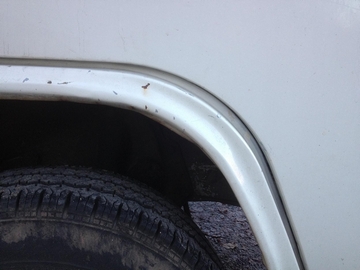 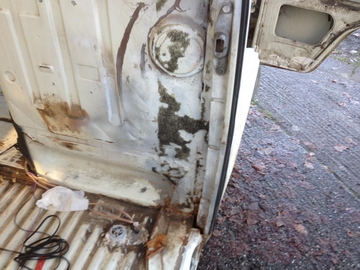 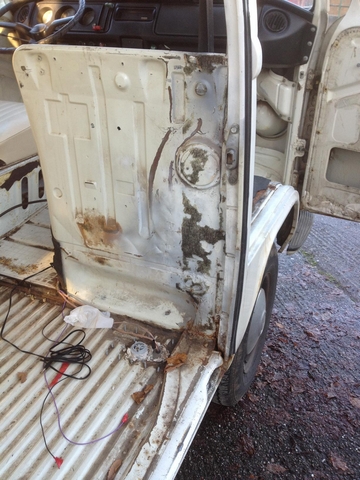 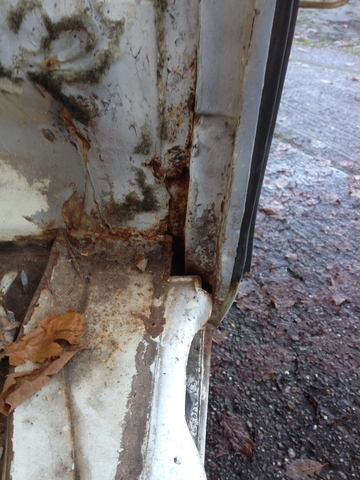 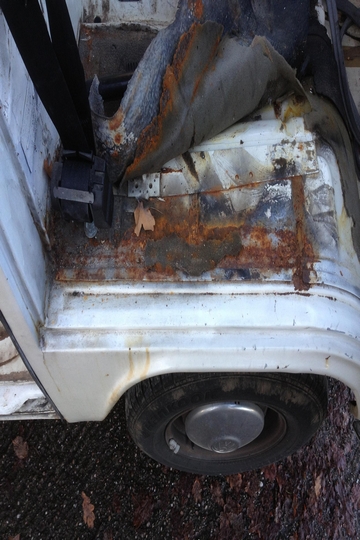 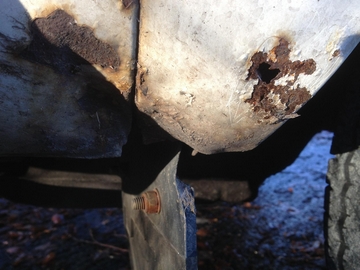 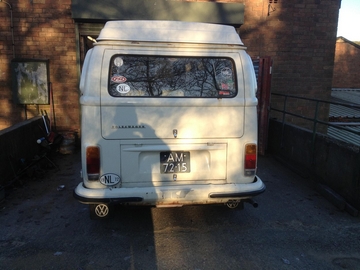 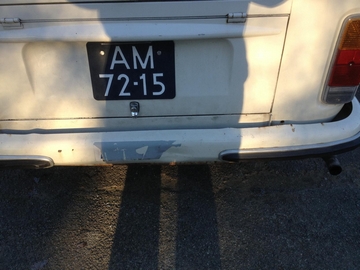 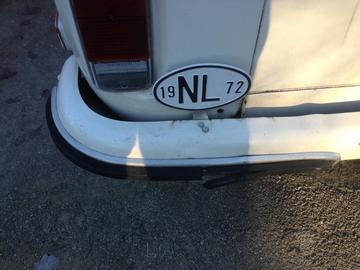  Track cover had no screw's in what so ever! 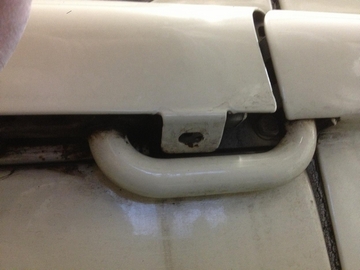 Bumper had such an impact that the slash guards and Irons are scrap! 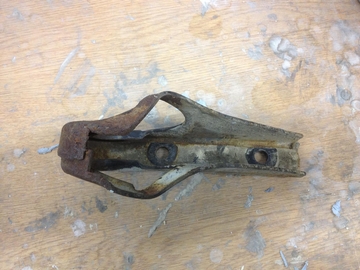 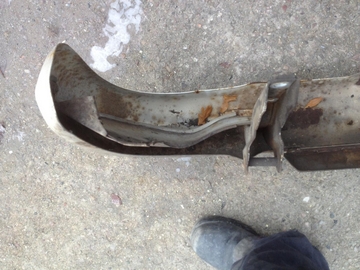 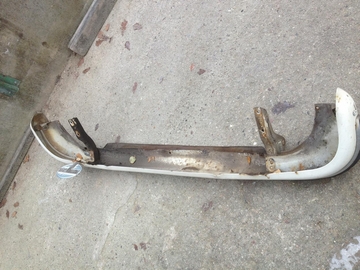 Deluxe rubbers are perished  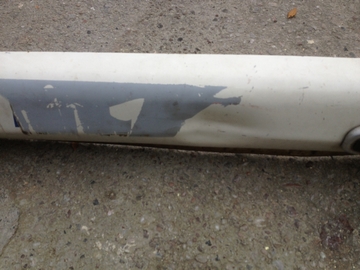 Deluxe trim taken impact  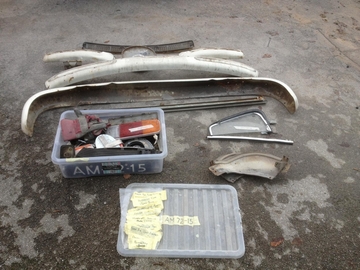 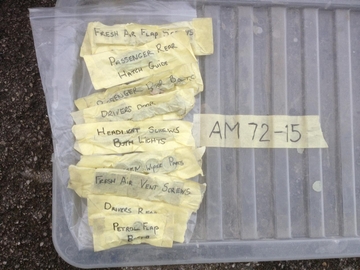 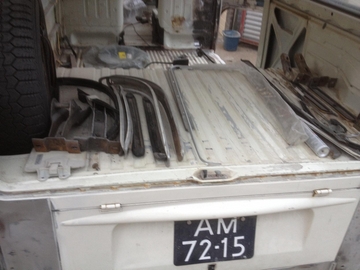 Rear corners showing signs of rot 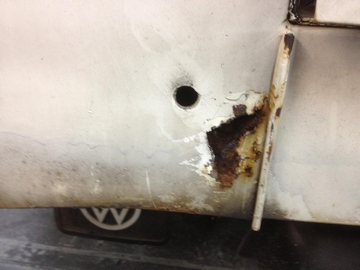 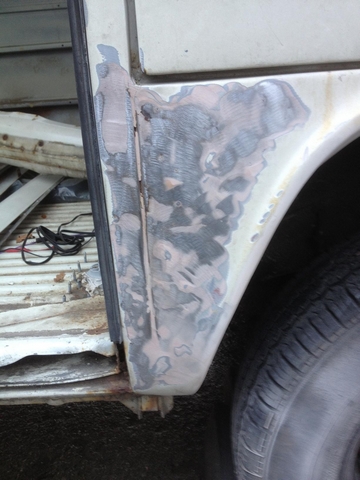 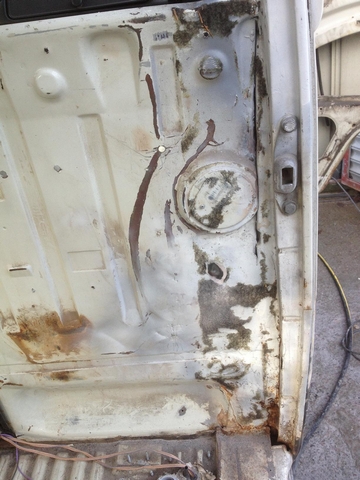 Front quater lights bent 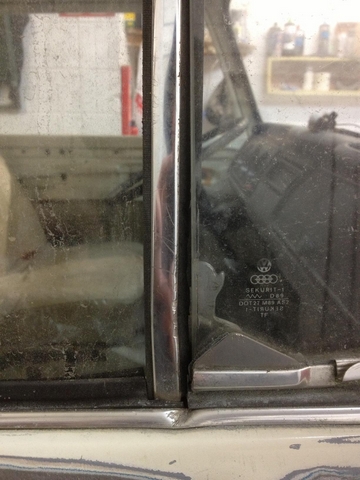 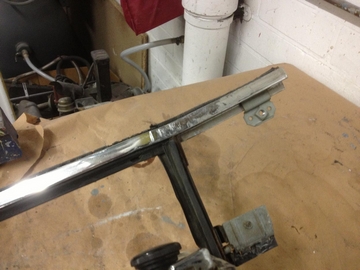 Many parts held in with little,wrong or even no screws 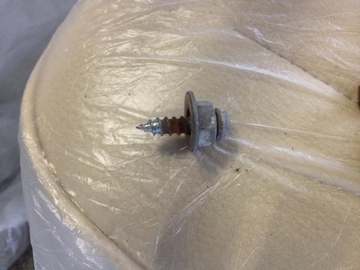 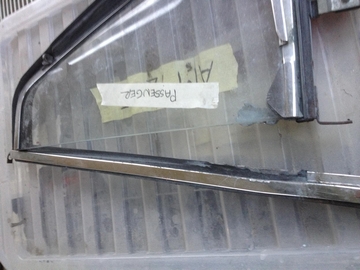 Gaps way out ! 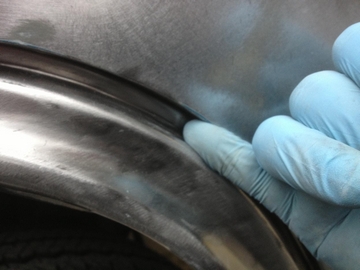 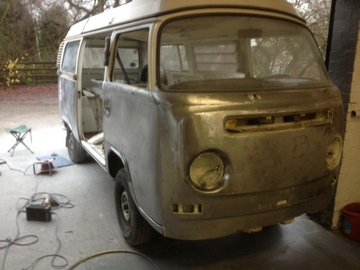 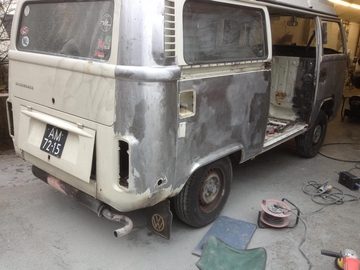 Serious amount of filler found over inches thick, here the shape and paint job was sitting on pure depths of filler 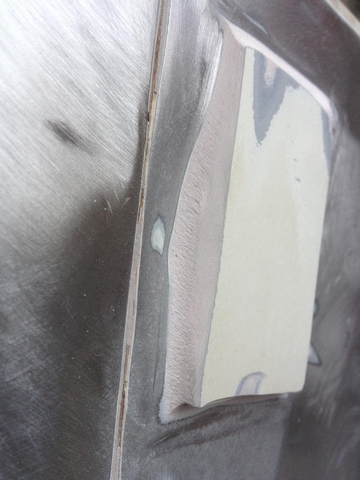 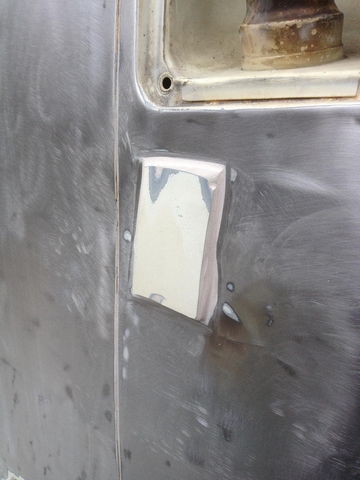 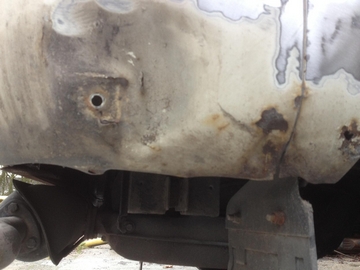 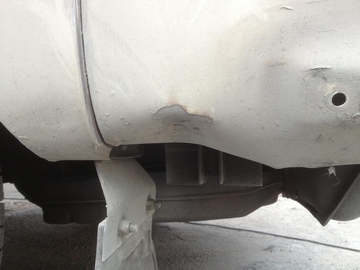 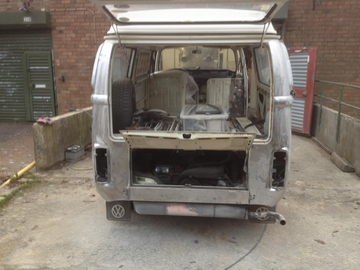 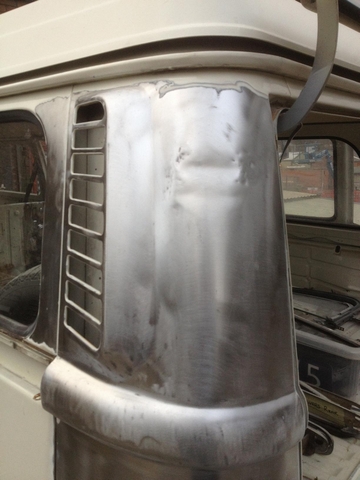 Rot both sides of each corner 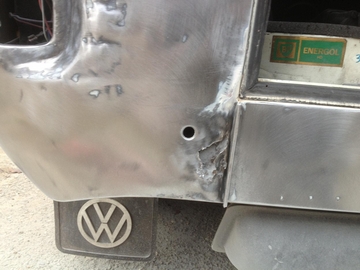 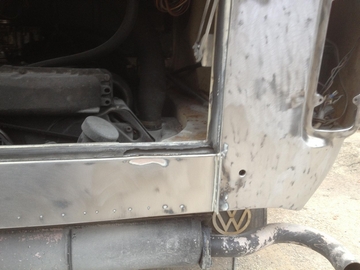 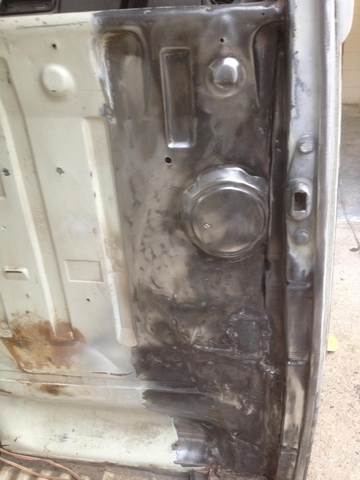 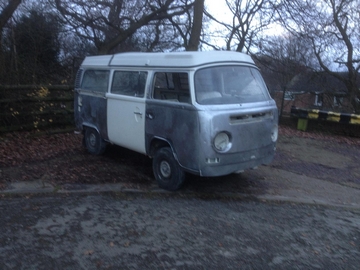 Accident damge found 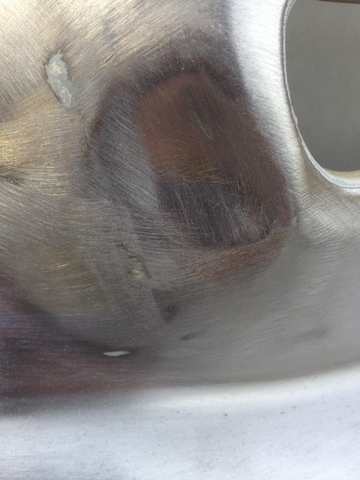 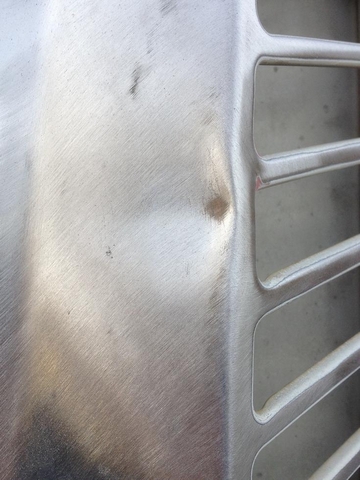 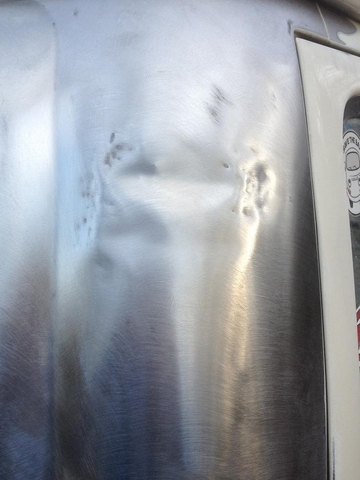 Showing signs of a whole N/S with the middle panel still being able to move from the edges 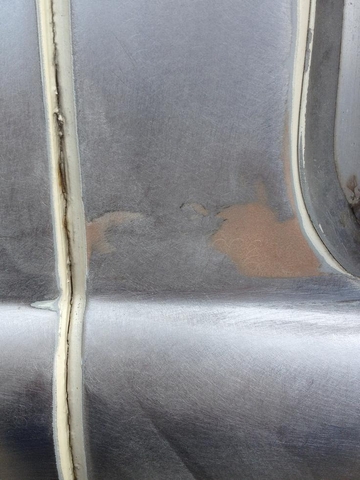 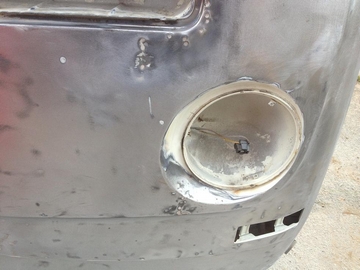 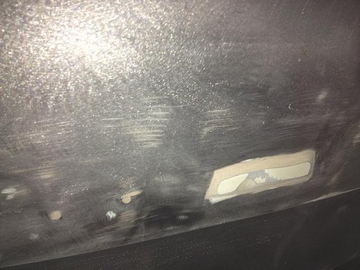 Previous repair in the past but in the wrong place hence the gaps 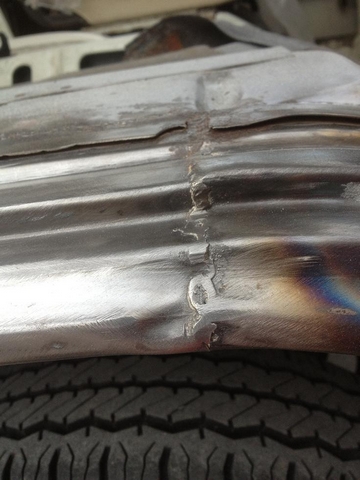 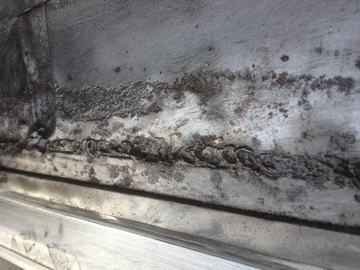 Inner arch was all bodyfiller 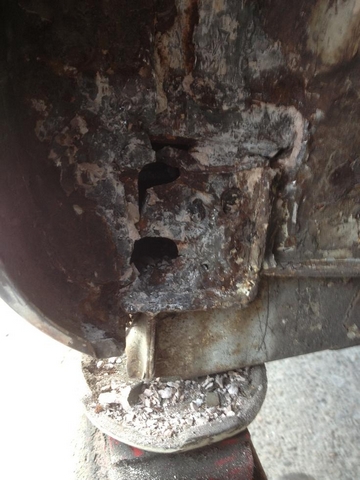 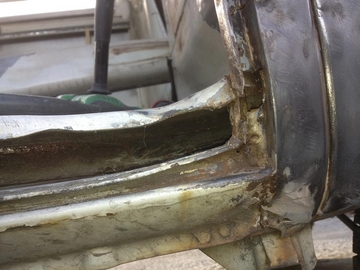 Inner arch wasnt even attached leaving a massive water trap 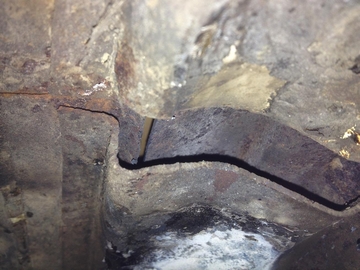 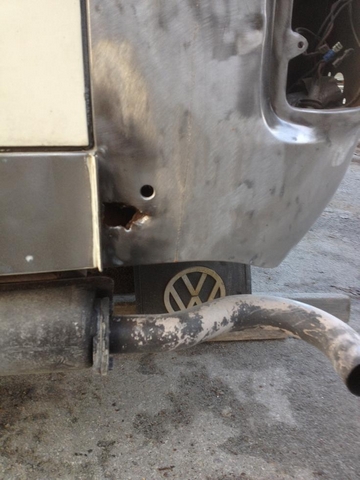 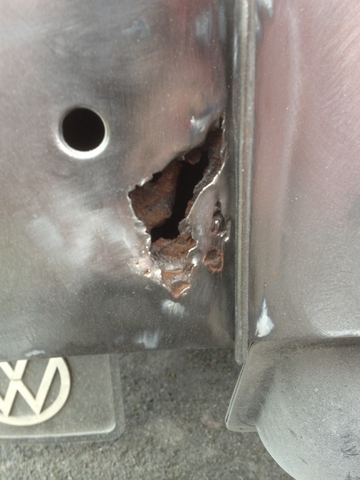 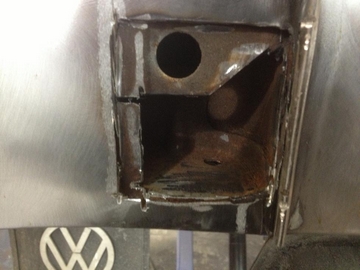 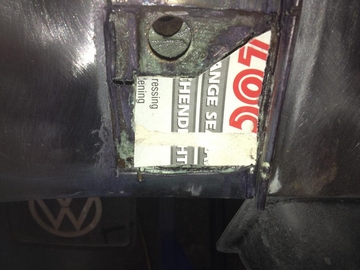 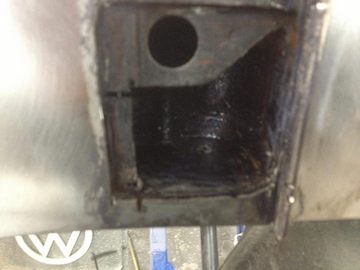 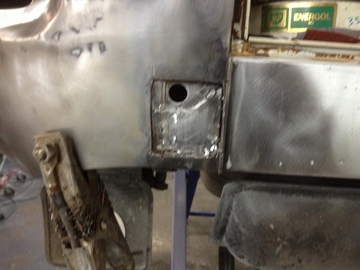 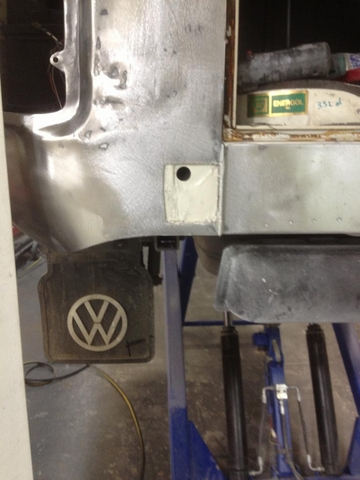  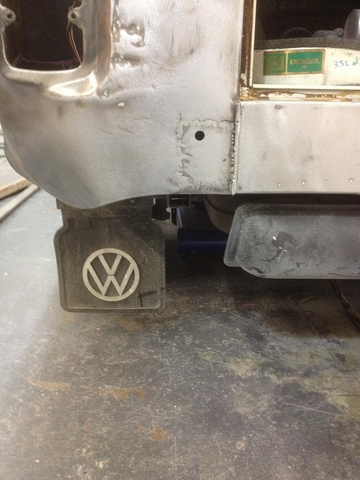 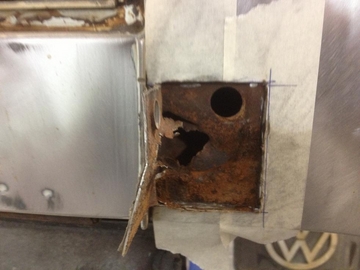 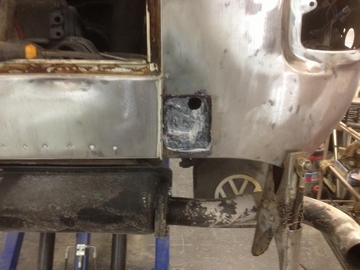 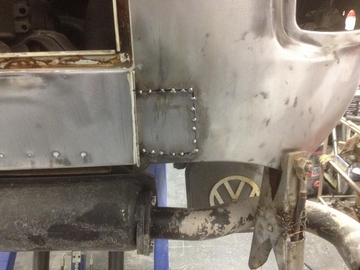 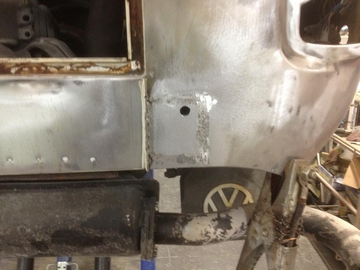 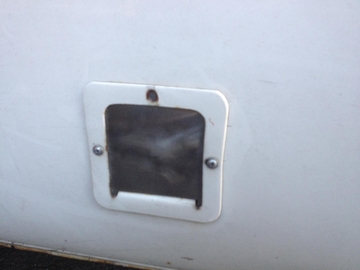 Side hook up welded and finished 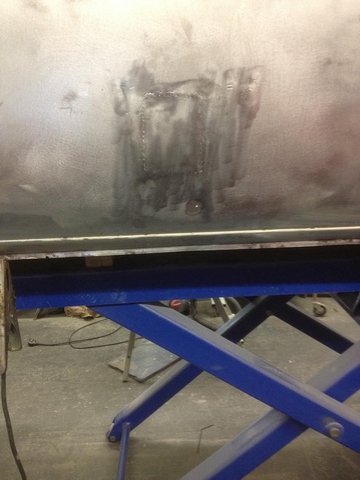 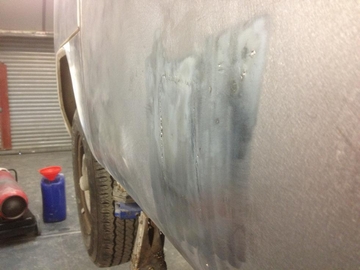 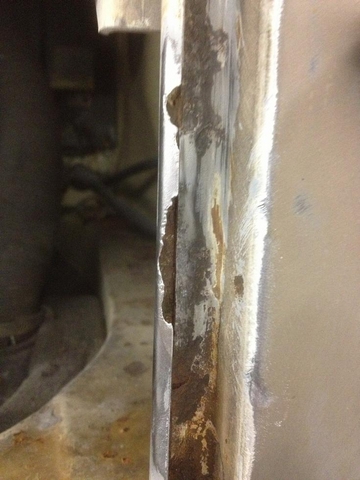 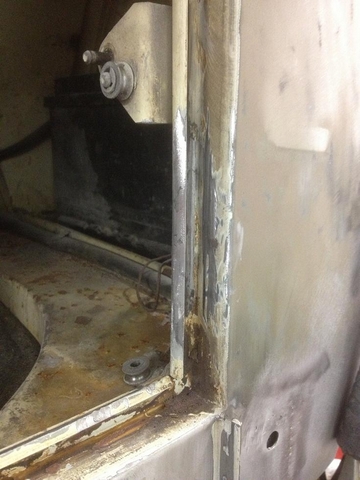 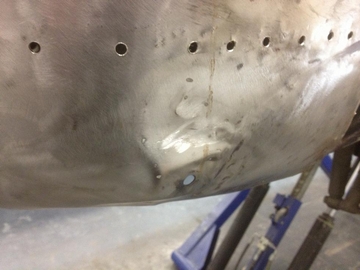 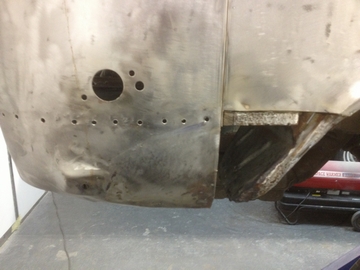 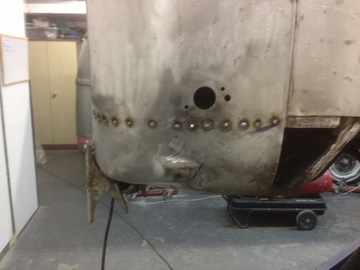 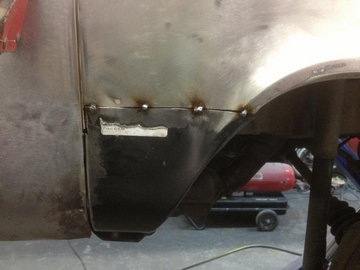 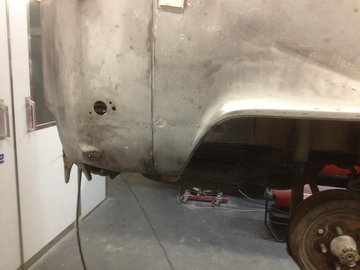 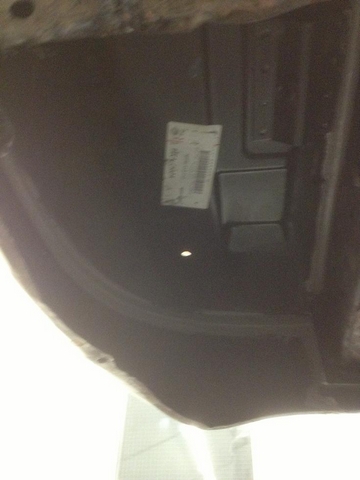 Previous Accident damage repair 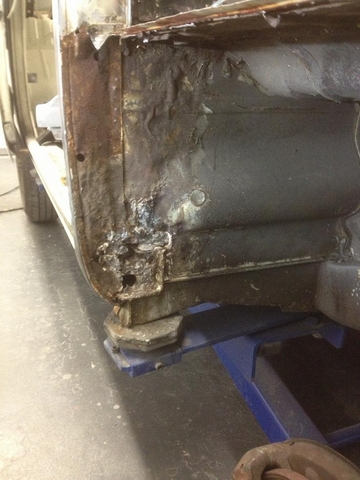 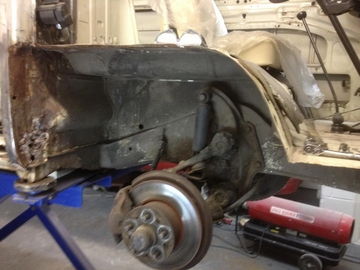 B post Wasnt even attached after sill removed 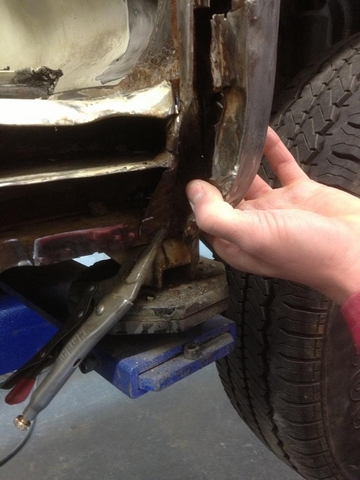 Inner B post 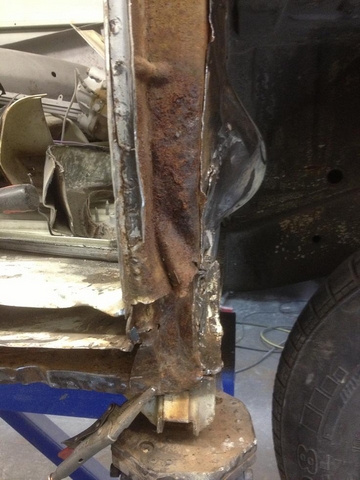 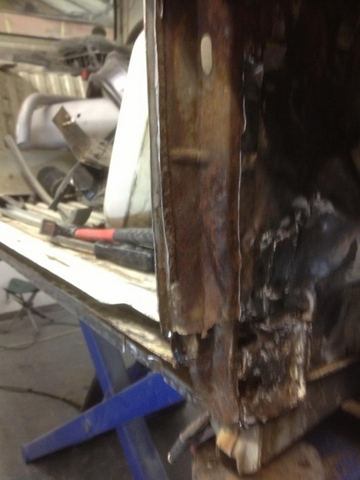 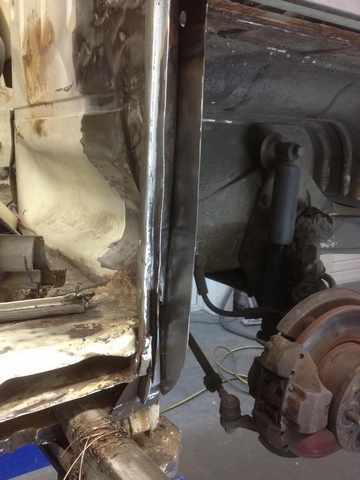 Inner B post and inner Wheel arch repairs made and welded 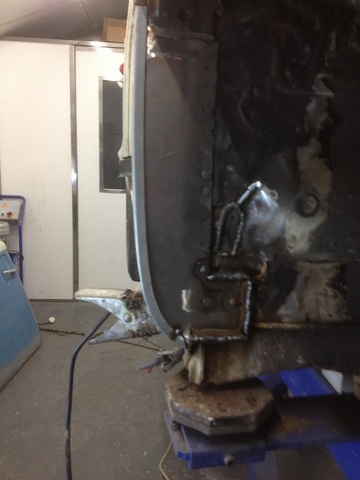 B post tacked on 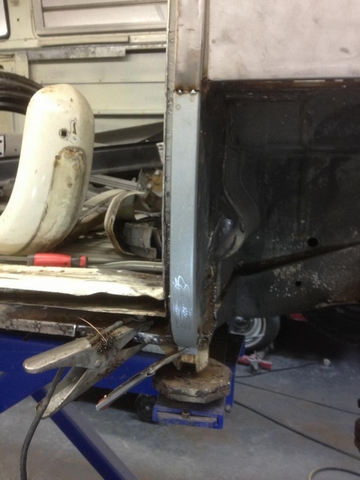 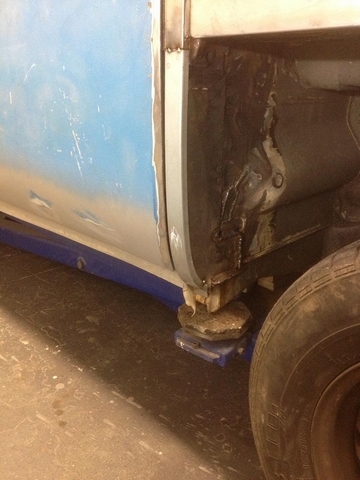 Inner sill cleaned up and primed fpr the futre years 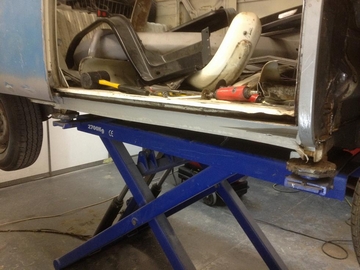 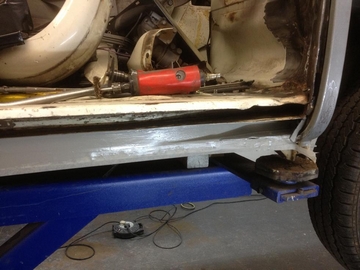 The door originally fitted after the accident on this van was a late bay sliding door but we replaced it with a solid original sliding door to the customers requirement but to our supprise it wouldnt fit the apature no matter what ! We fit up the old door and ot goes on like a dream perfect gaps. Take the mechanical parts of the old swap them to the new and it still is nowhere near ! After 20 hours of on off on off adjust we got the door 80% there good enogh to nmodify. We then shaved the edges that were too close and added to those what were too big. Now perfect gaps ! Before ! 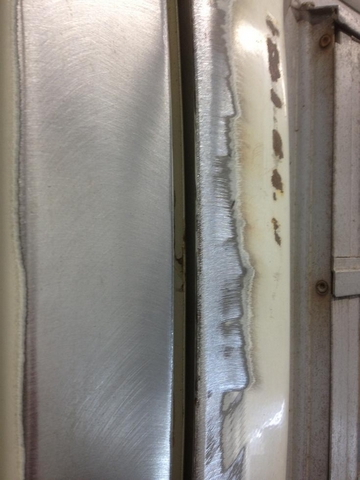 After !  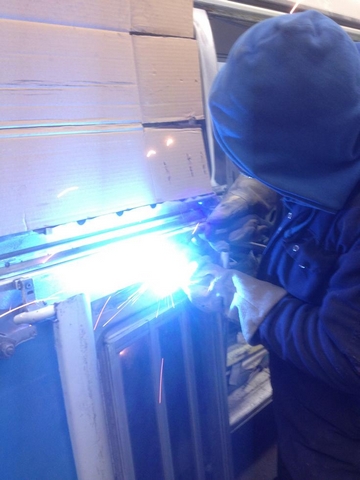 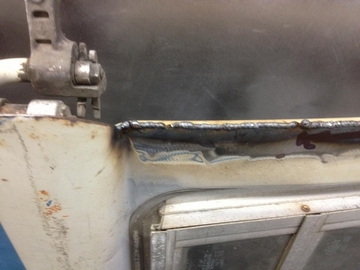 Steel added top to bottom ! 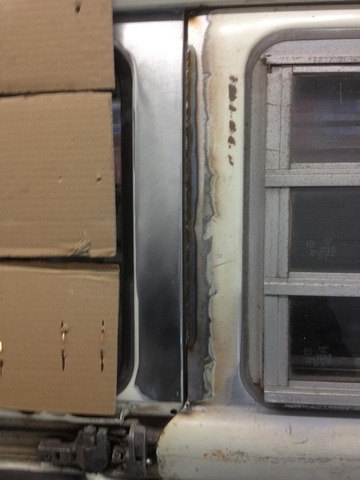 Before ! 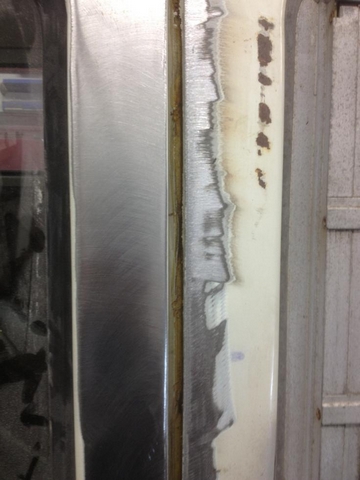 After ! 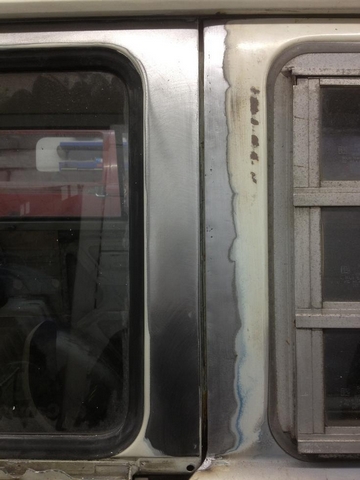 As we were un able to purchase a replacement 1 year only arch and there wasnt any decent body cuts around we had to purchase a seprate inner and outer arch and then modify to fit. Inner late Bay wheel arch 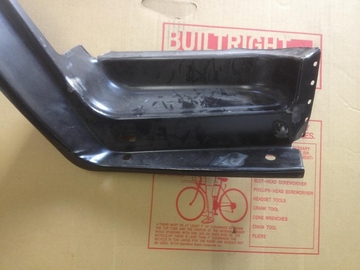 Late bay step cut off Inner 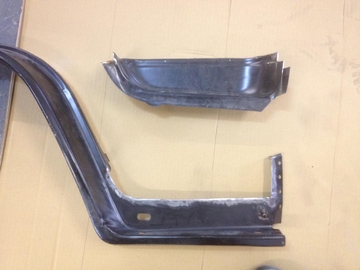 Early bay inner step cut and attached 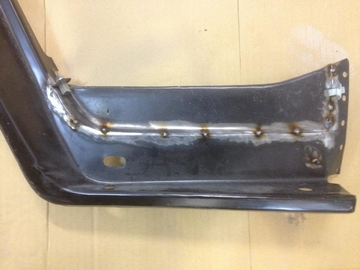 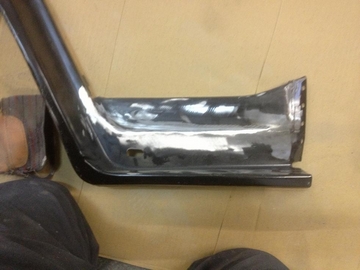 Late outer arch step cut 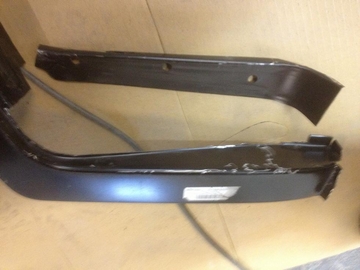 Bumper brackets cut out of the original arch and welded into the new inner arch 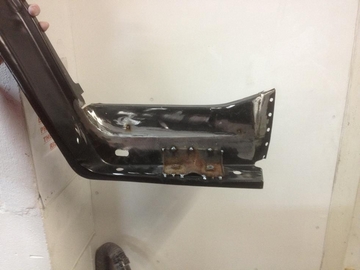 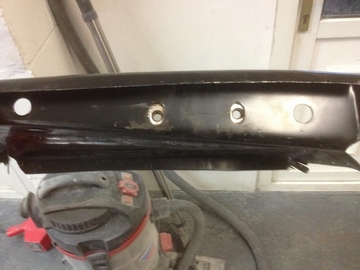 Inner and Outer spot welded together 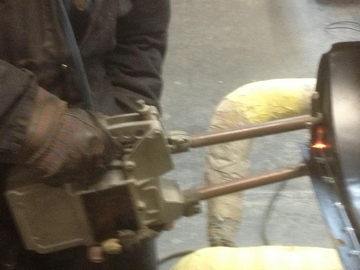 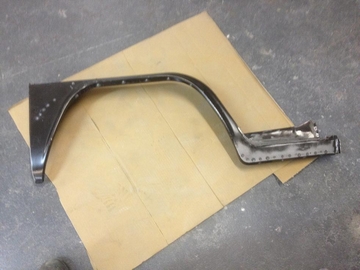 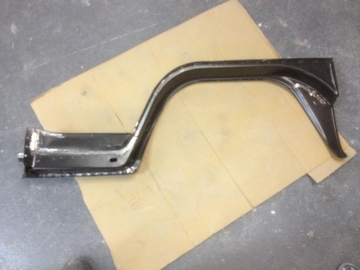 Found some rot around the seat belt mount top 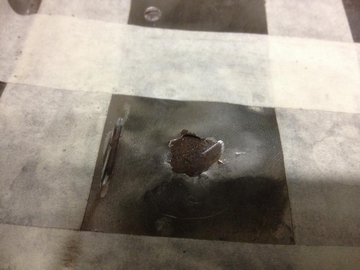 Cut out and replaced 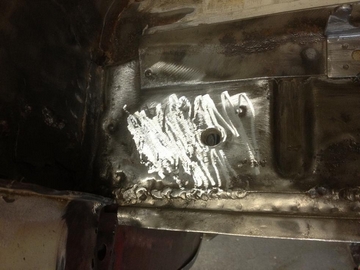 All the seam edges and old weld repairs cleaned to offer the new arch up to but not with ease. Here we had to use force to get the bpost and arch lines uniform 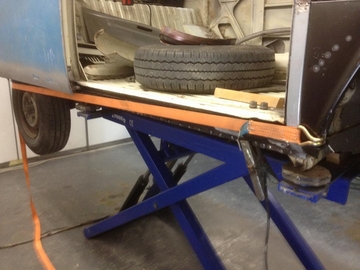 Where the old arch was gas welded 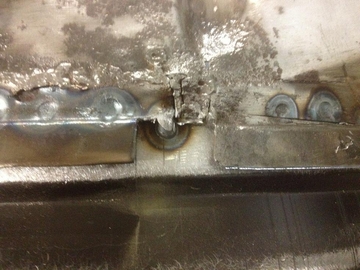 We let a piece in so the floor mats tuck neately underneath like original 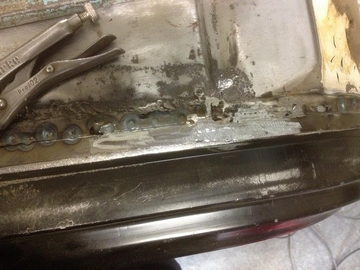 Front panel folded over the arch skin 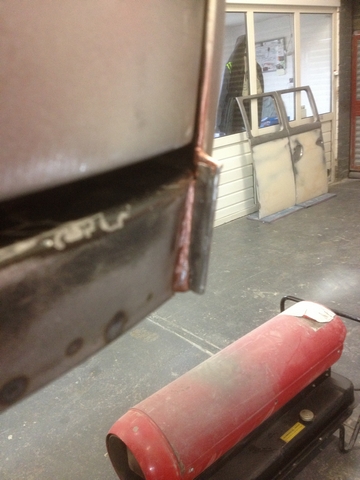 Spot welded   Sill Cover replaced  Arch seam sealed  Sill cover loads more straight and the sliding door now runs smoothly  Inner arch sealed where the previous damage was to stop any water traps in its next life 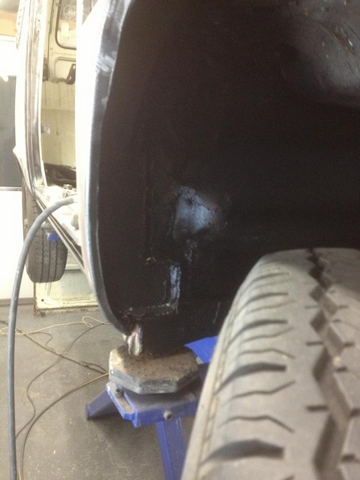 Gaps checked and customised to fit now its back down on four wheels
 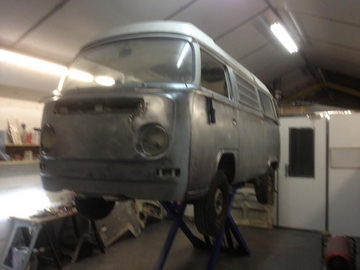 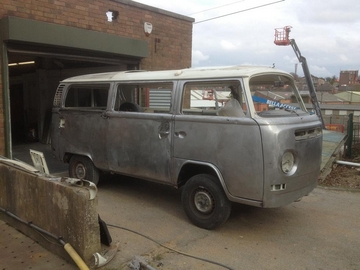  O/s Quater panel was badly damaged and took a lot of pulling and shrinking to get it level 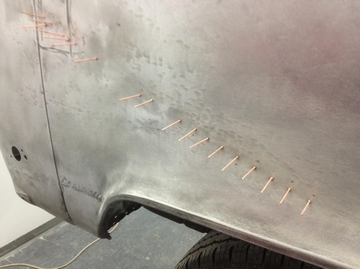 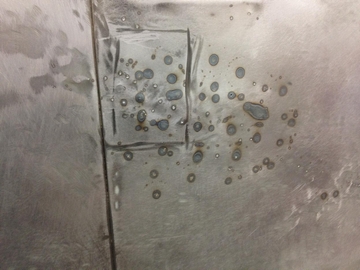 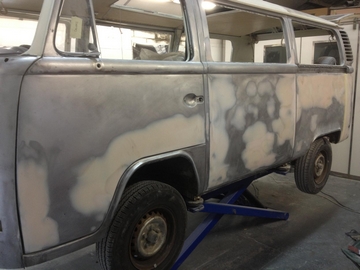 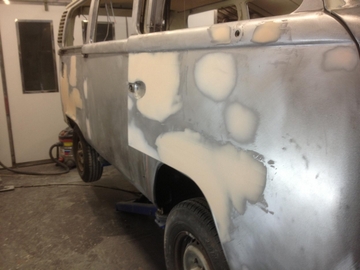 Surface rust blasted on hard to prep areas    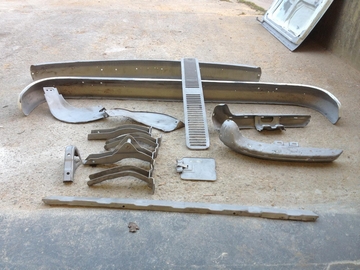 Shell prepped for primer, Degreased and baked at 70 ! 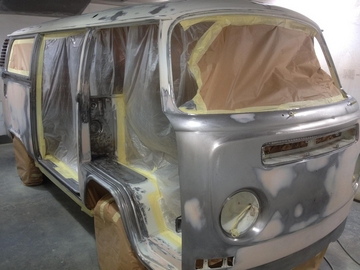 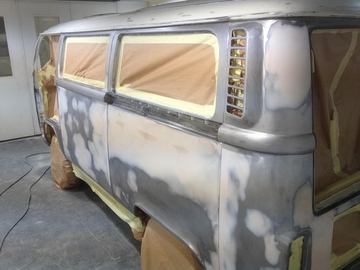 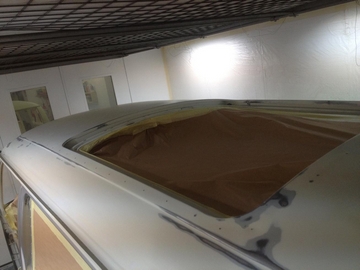 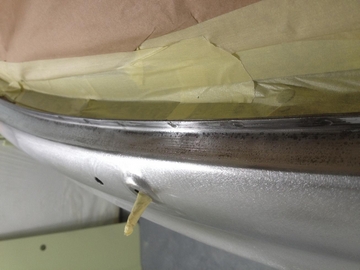 Zinc Phosphate Epoxy primed 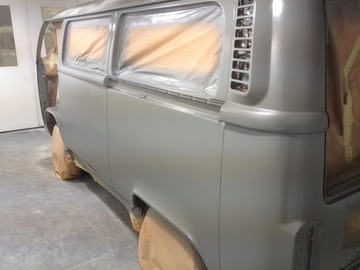 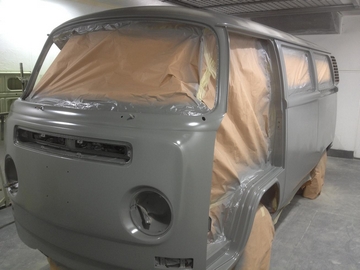 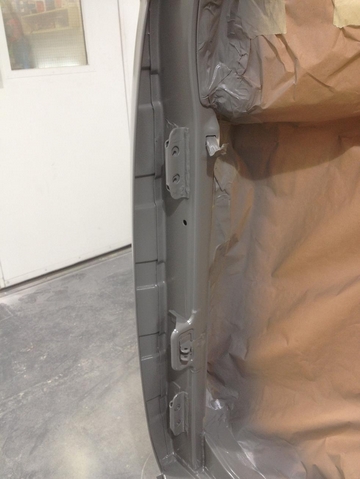 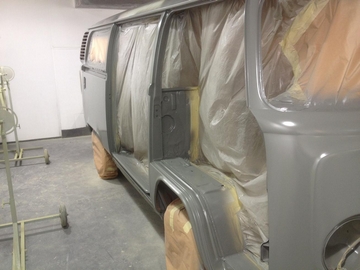 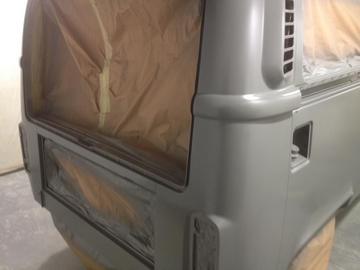 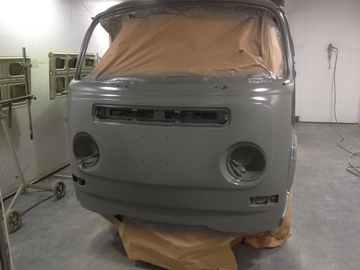 Followed with 3 coats of primer/surfacer 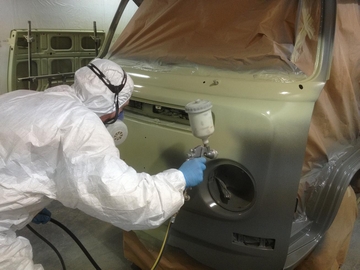 Guide coated ! 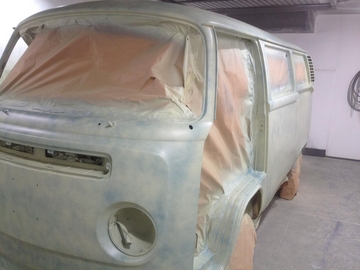 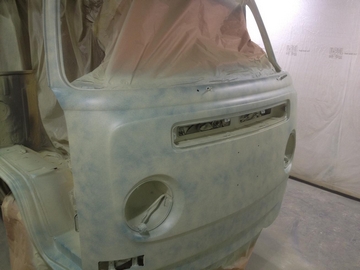 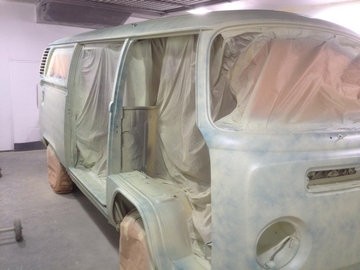 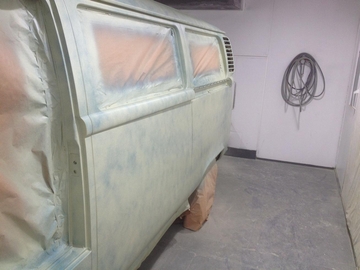 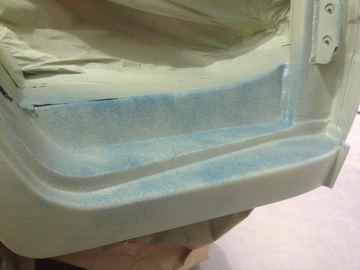 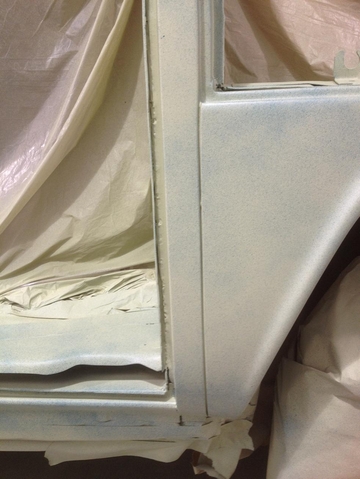 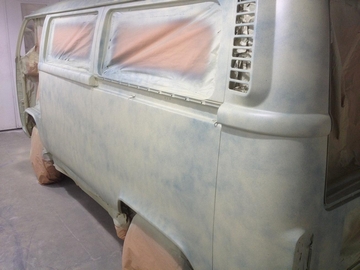
|
||
Comments ( 0 ) - Add Your Comment |
||