Sitewide Search
What's new.../ Gallery
- 28 Dec 2012
1972 Stock Westy - 27 Nov 2012
Gareth's 21 Window Samba - 20 Nov 2012
The Beast Is Back ! - RSS Feed

- More >>>
More Info
How to...
Projects
Gallery/Resources
1968 Triumph TR5 restoposted on 28 May 2010 | posted in 1968 Triumuph TR5 resto | ( 1 ) CommentsThis is the latest project, we have deffinately got our work cut out on this bare metal resto. it needs : finish stripping Steam cleaning under arches Bare metalling Welding finishing off All seams cleaned and resealed inside and out All repairs taking care of which is quite a few :-) Panel Gapping Bonda primer behind quaters wings and wheel arches stone chipping behind quaters and wings and wheel arches Priming on the outside Blocking Painting inside wings and quaters Painting body Polishing (All on site) 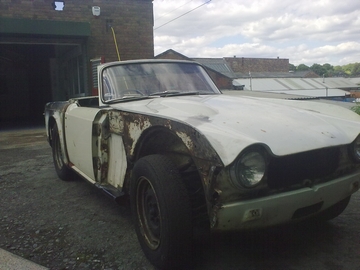  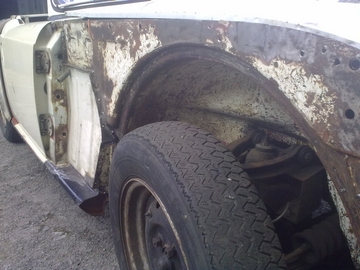 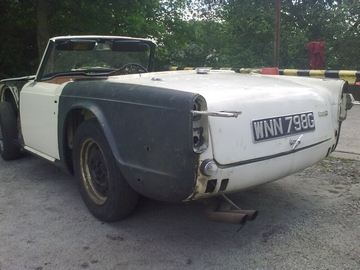  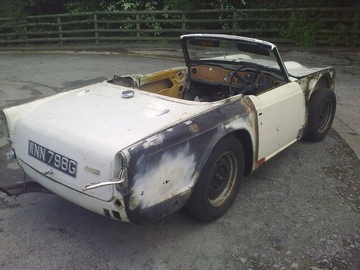 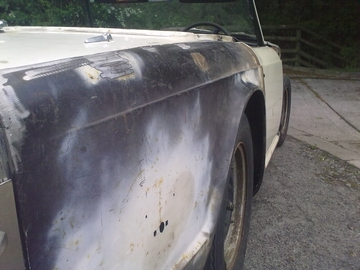 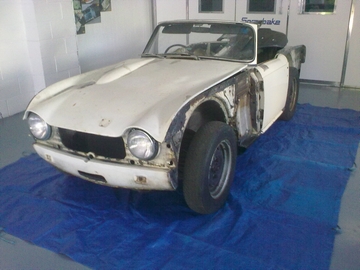 All steam cleaned off with tfr 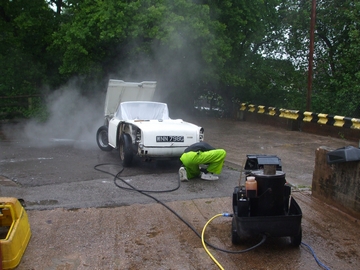 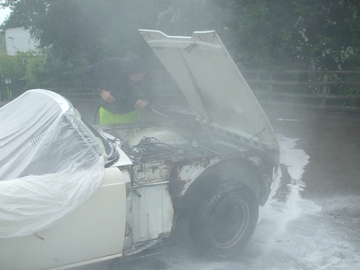 Baked to dry at 70degrees 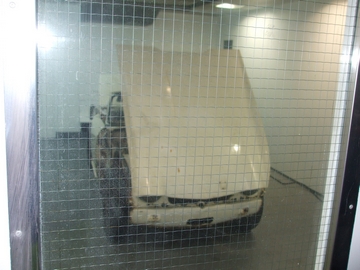 Doors bare metalled 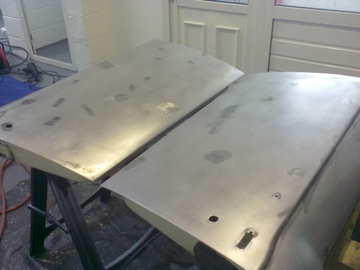 Quite a few low spots but absolutely solid and rust free 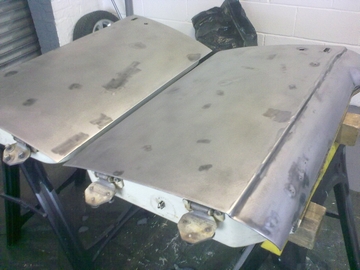 Bonnet badge holes ready to be plug welded and relocated 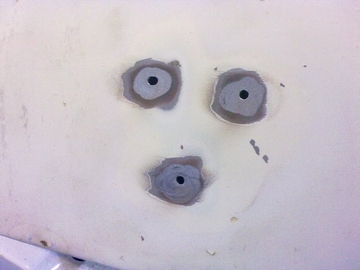 Under seal scraped and cleaned off the inner quaters Now ready for blasting 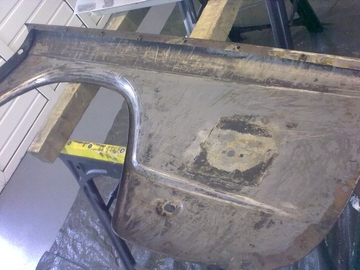 As it stands Now 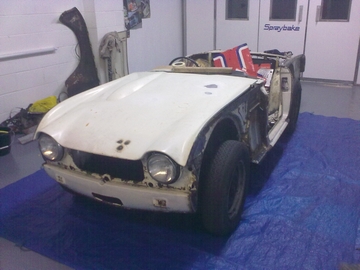 This is what we find when we start to strip the paint 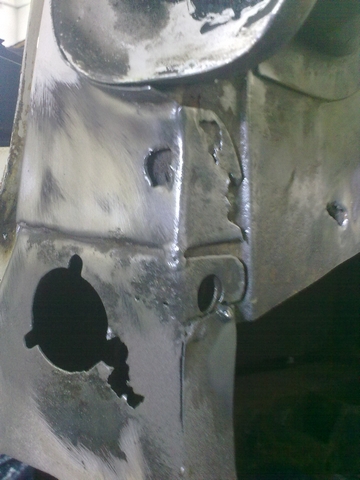 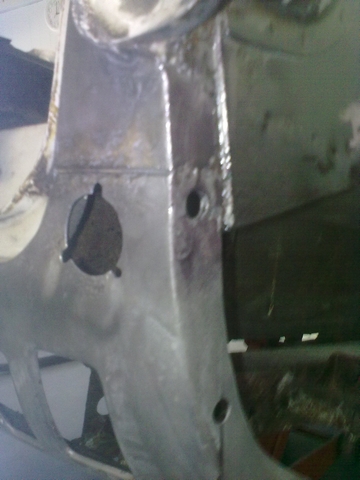 This is what we found when we started to remove the top coat Rust eating through the primer This is what we found when we started to remove the top coat Rust eating through the primer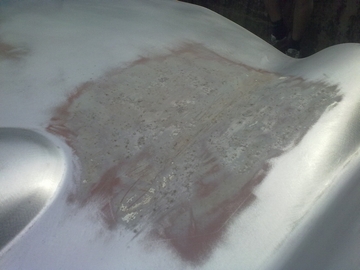 And the same under the bonnet, the more we stripped the more rust we found until we were forced to bare metal it underneath too. 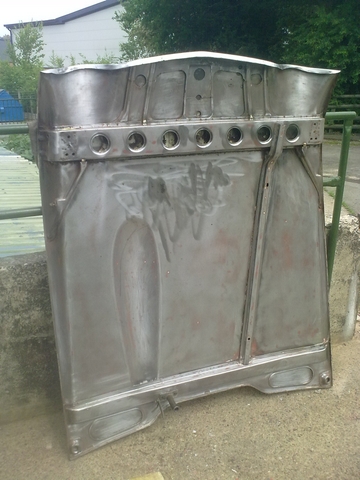 Door Shuts stripped 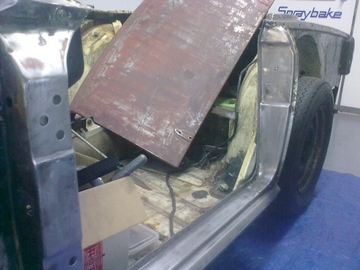 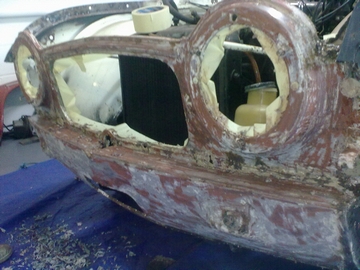 Bare Metalled and treated 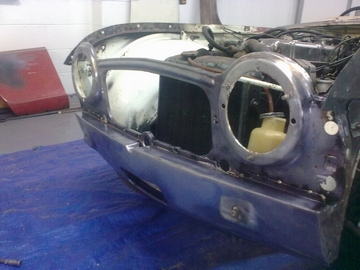 Some of the parts are suffering from corrosion underneath the primer this was what was left after bare metalling and wire wheeling. Both sides of the boot lid were like this and the top side was slightly worse. 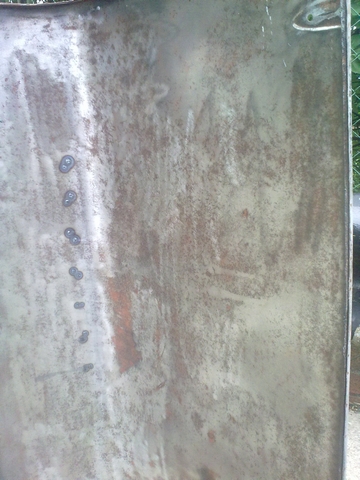 Here is a pic of after i used a process called phosphating using a special phosphoric acid which kills rust that a machine cant get to 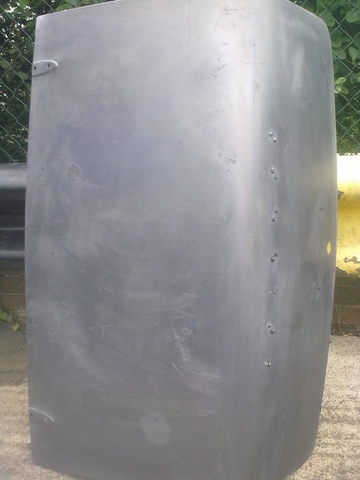 After phosphating underneath of the boot lid and treating with dinatrol rc900 on the bottom edege 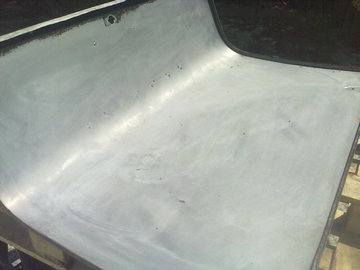 Structre housing in place and sikka flex sealed to stop any futher rusting. it just needs a few tack welds on the skin edge 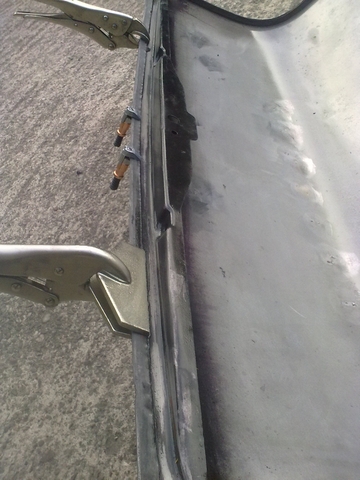 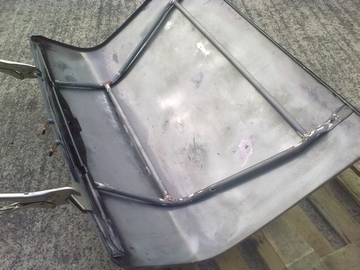 This dent was one of a few on this lower panel from a previous repair so i ripped out the old filler got as much of the dent out as possible so only a thin skimming of filler is required 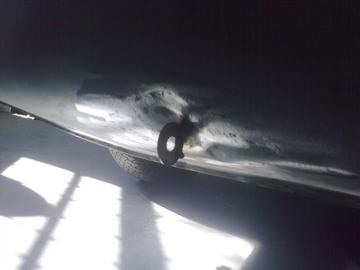 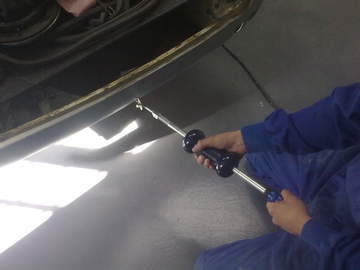 Here i used a 400mm sanding plane to block the doors to remove all the dents and ripples ! 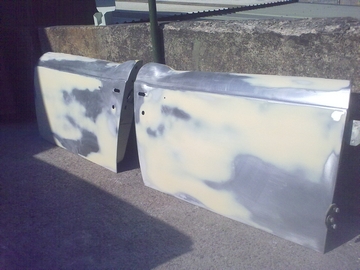 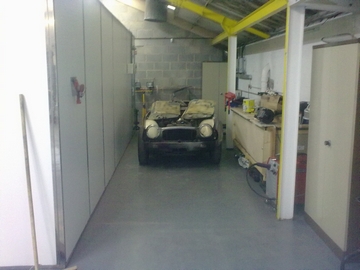 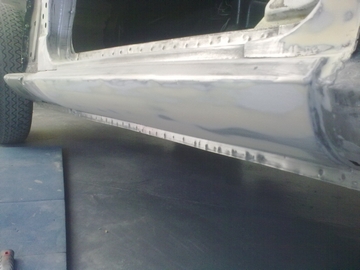 Bonnet smoothed out 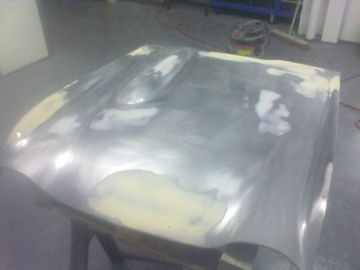 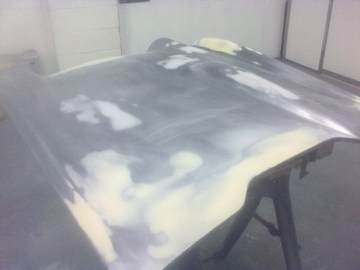 A Whole lot of shaping going on here! 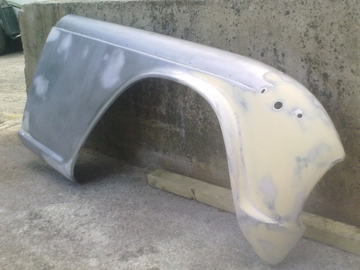 Ready for some Wash Etch and 2k primer 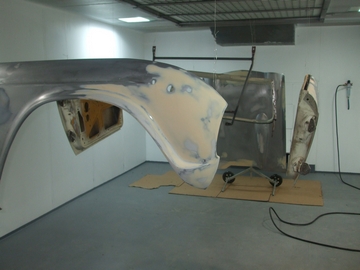 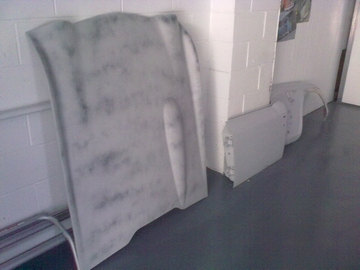 Lead Loading To get the right panel gaps and shape 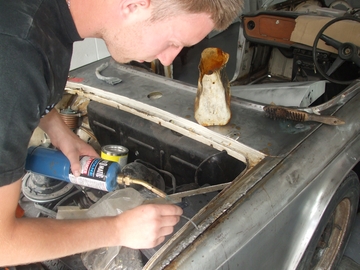 Filed To shape 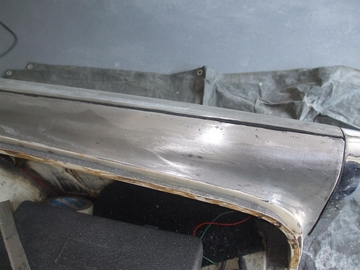 A Few Bits starting to get coated 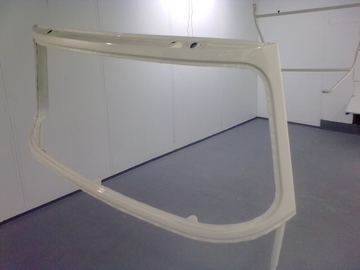  Recently we have been doing the bottom of the wings to get the right panel gaps and any dents along the way. Some more parts primered, Another rust hole sorted on the door post and we are now getting ready for smoothing the tops of the rear wings where the patches have been welded in. 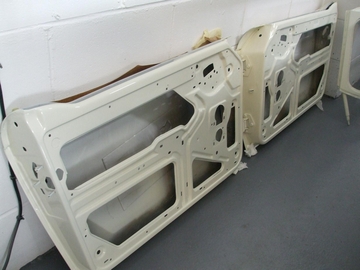 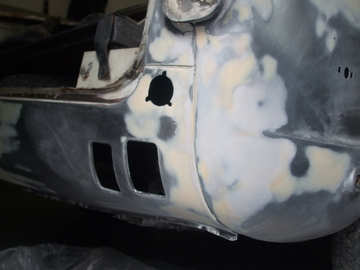 Rear Wings now fit up to the back panel. 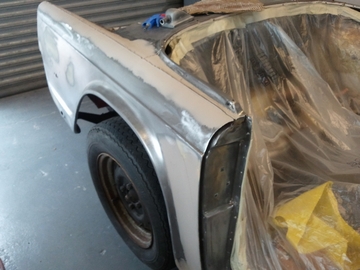 Here i have been shaping the tops of the rear wings to match up to the top panels 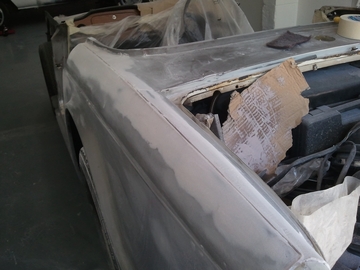 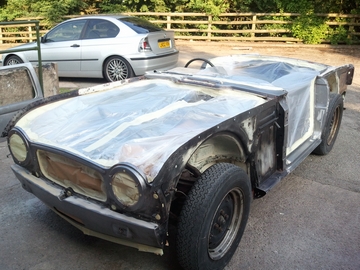 Masked Up Baked to dry out the moisture, primered and baked again to egg shell hard! 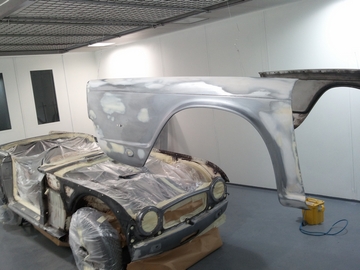 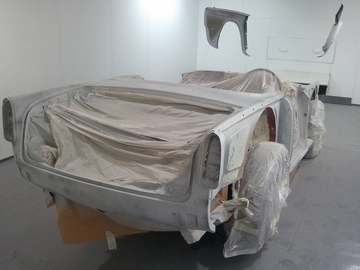 Bootlid 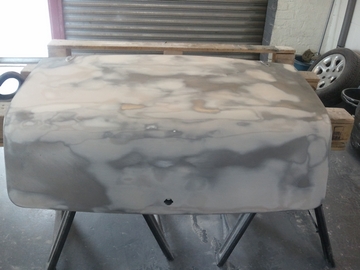 All the skin edges seam sealed 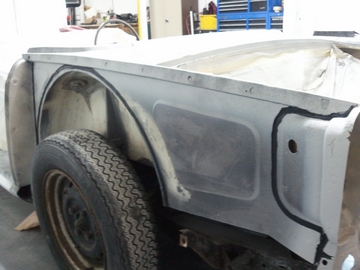 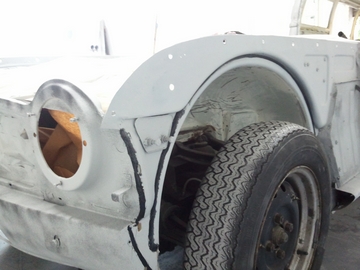 Ruberised Anti Stone chipped  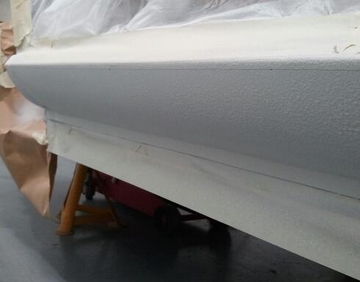 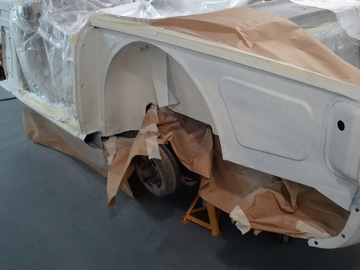 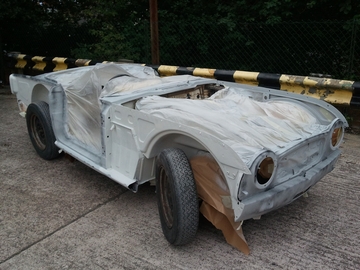 Started to get some more bits coated over the weekend 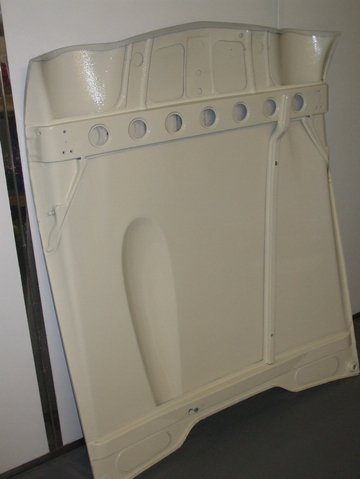 Panels anti stonechipped Behind and painted 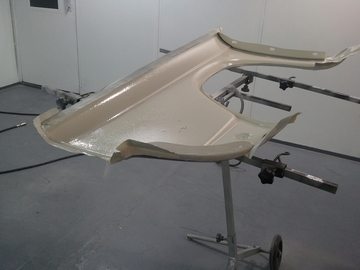 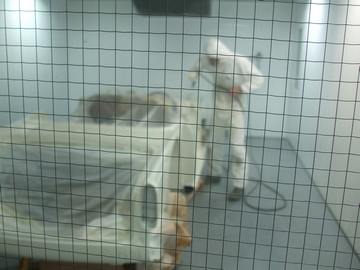 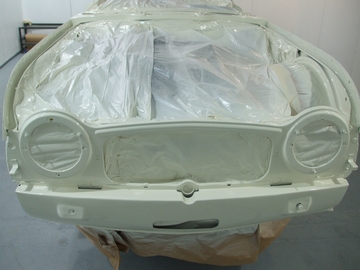 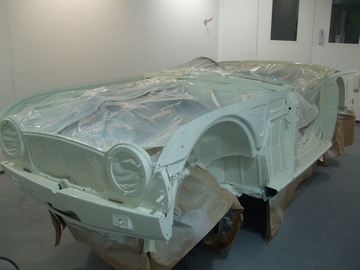 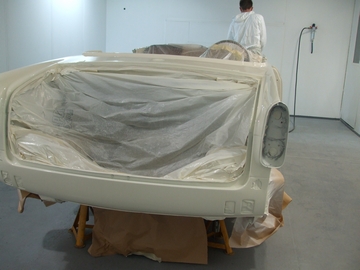 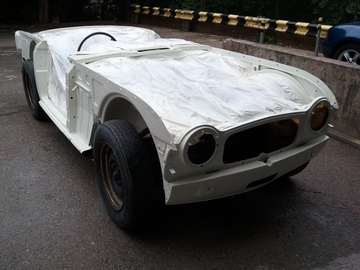 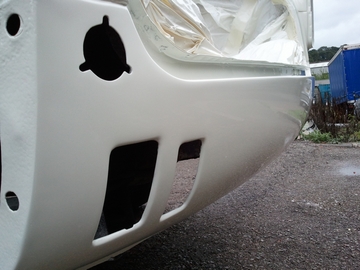 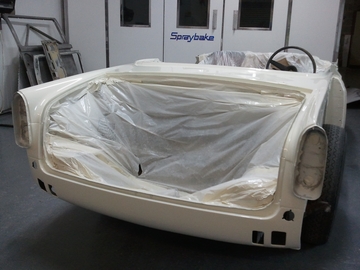 Ripple free panels !! 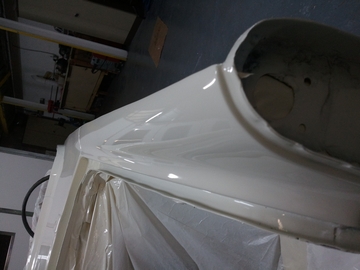 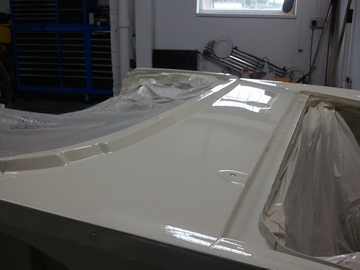 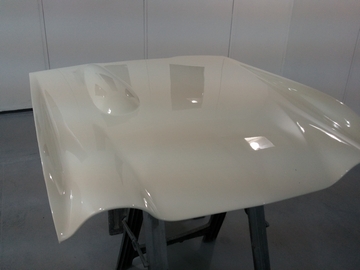 Doors 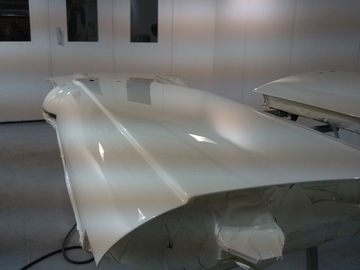 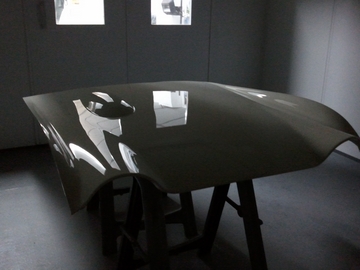  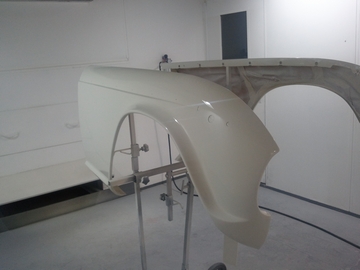 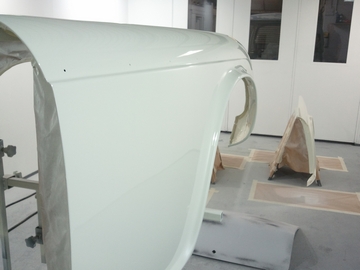 Panels baked now awaiting a bit of machine polishing 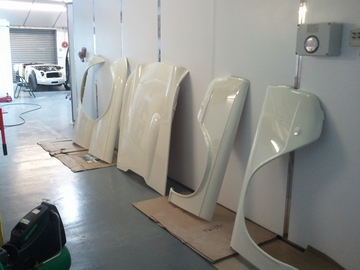 Super streight boot lid after lots of attention 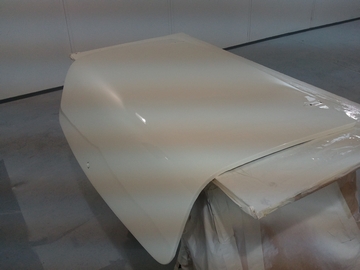 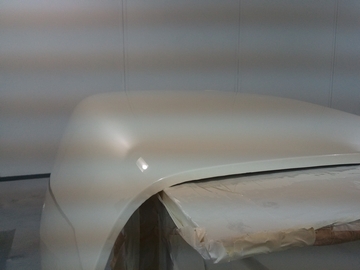 Trial fitting wings to see how it will look 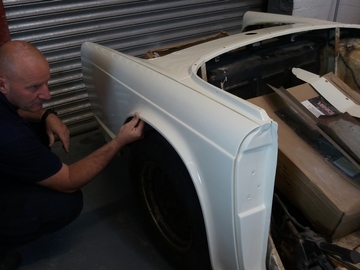 Trim beading in etch primer before top coat   Panels placed on for its journey home!! 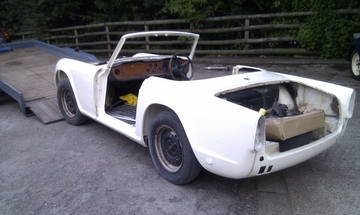 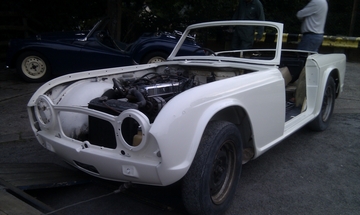 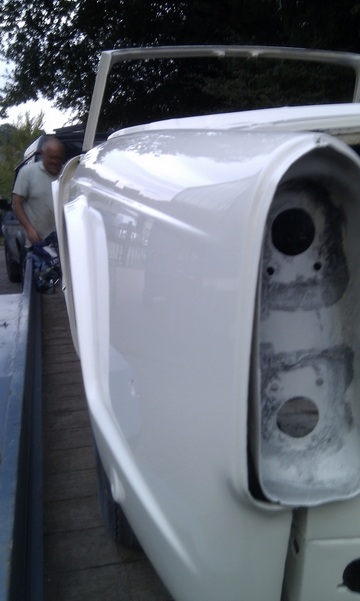
|
||
Comments ( 1 ) - Add Your Comment
|
||


