Sitewide Search
What's new.../ Gallery
- 28 Dec 2012
1972 Stock Westy - 27 Nov 2012
Gareth's 21 Window Samba - 20 Nov 2012
The Beast Is Back ! - RSS Feed

- More >>>
More Info
How to...
Projects
Gallery/Resources
Rob's 69 Deluxe ( Part 1 )posted on 3 March 2012 | posted in Rob's 69 Deluxe | ( 6 ) CommentsHere is Robs Californian 69 Deluxe, Now undergoing the MidlandPaintWerks treatment 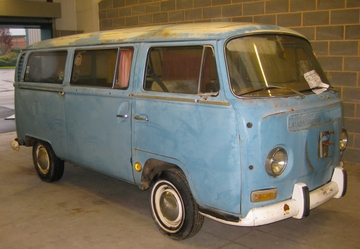 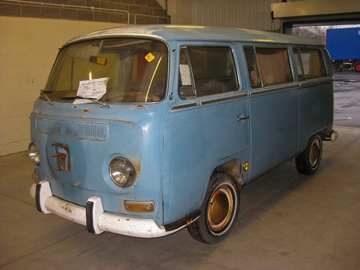 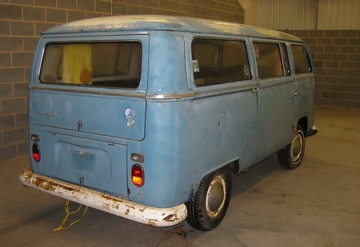 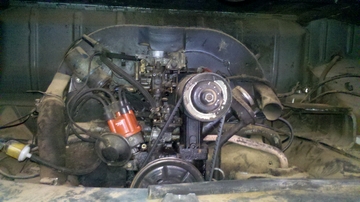 Engine  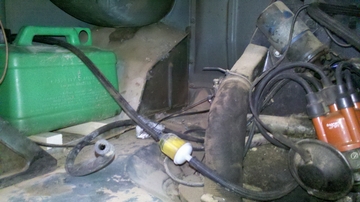 Now For the first inital dig and poke around ! A lot of the lower rust was obvious, but we were still very shocked as to what we found. It goes to show what really lies beneath! 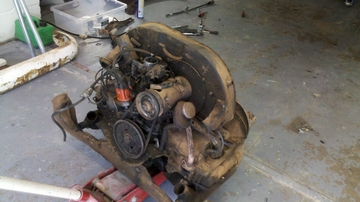 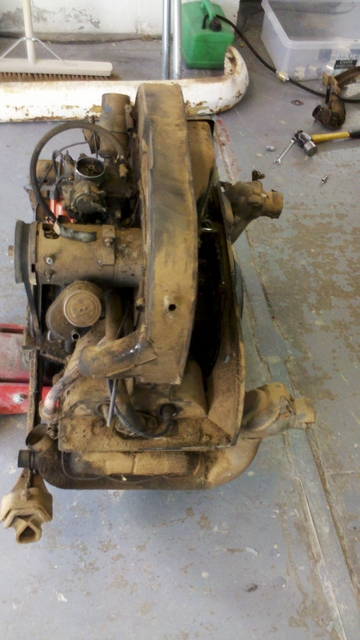 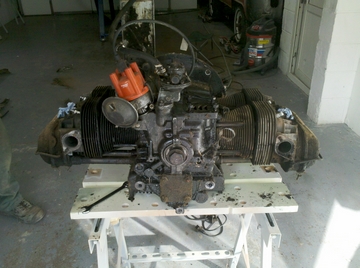  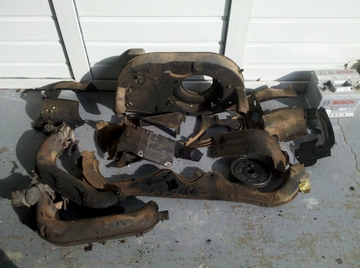 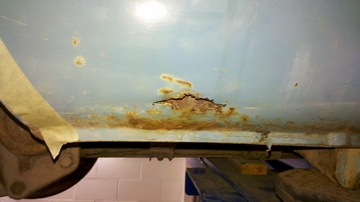 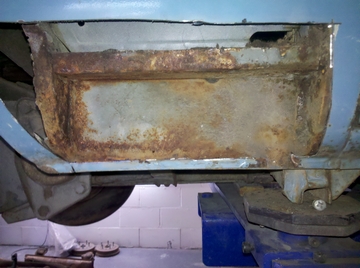 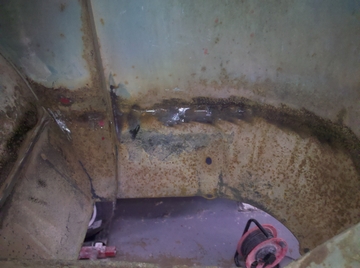 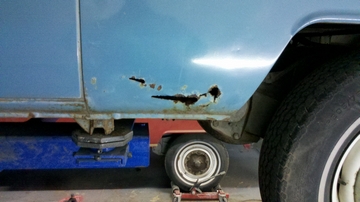 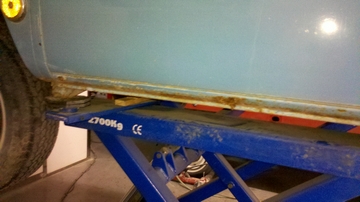 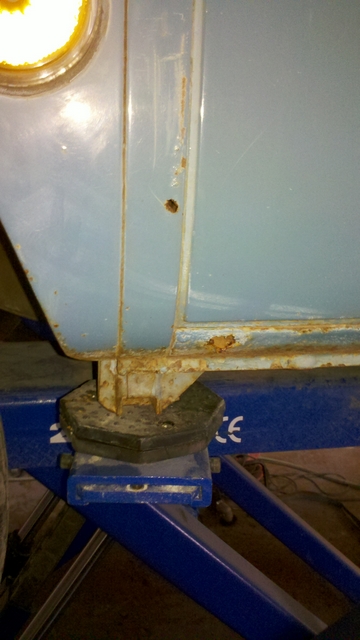 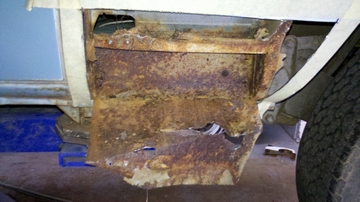 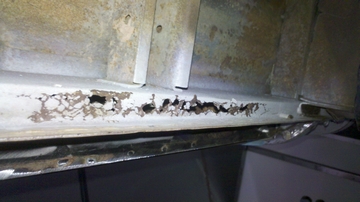 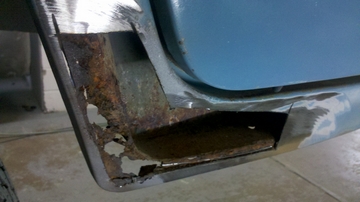 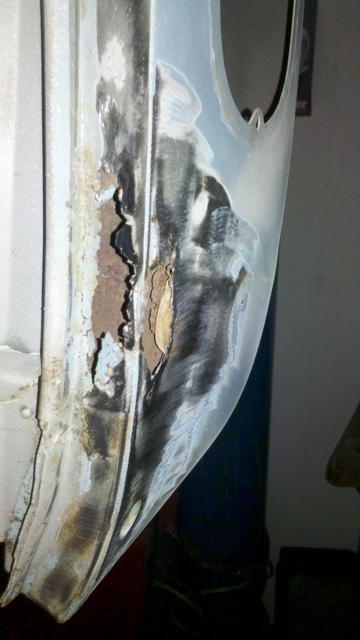 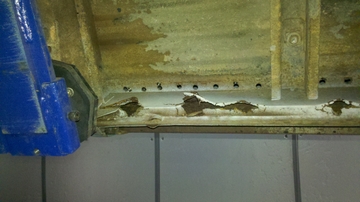 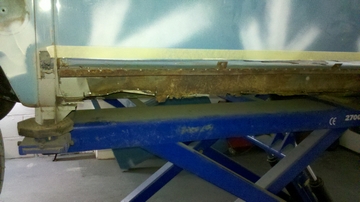 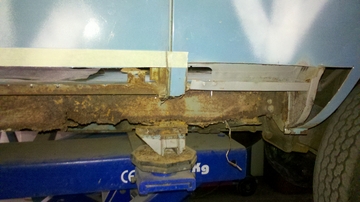 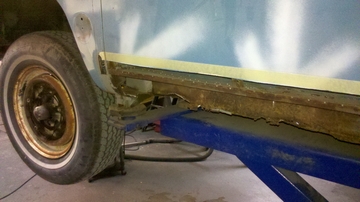 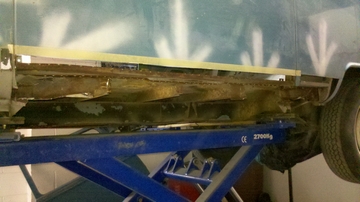 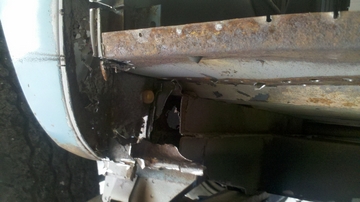 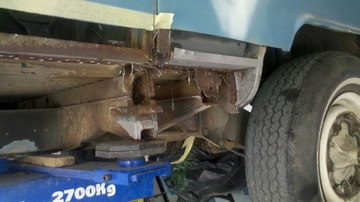 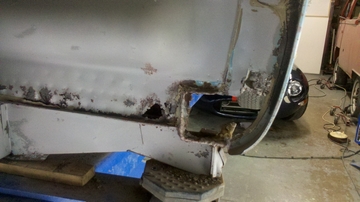 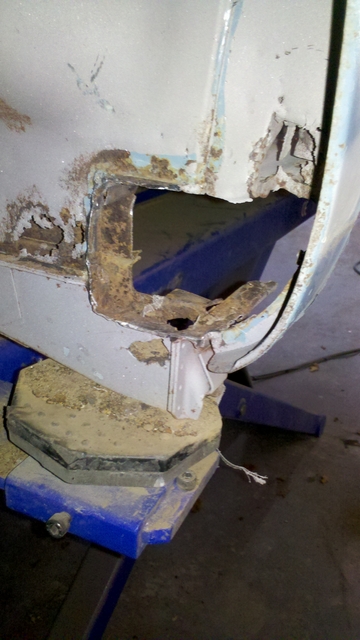 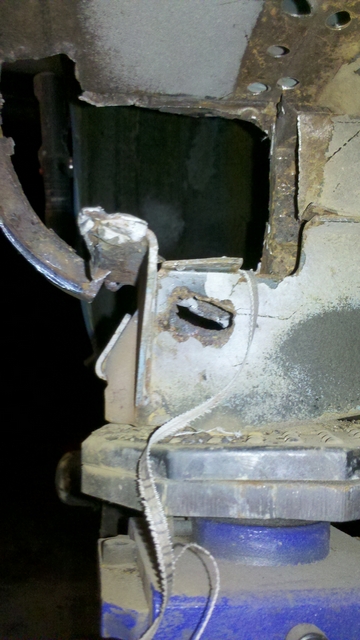 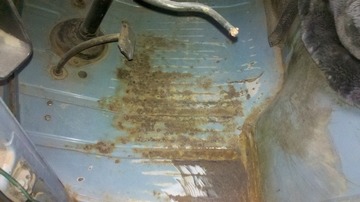 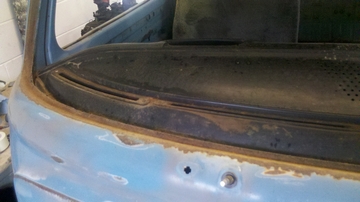 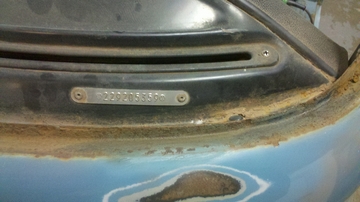 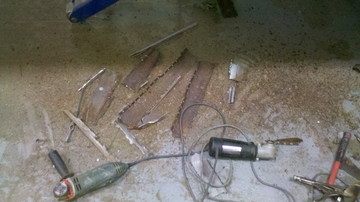 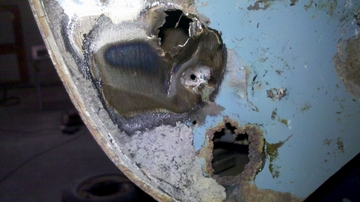 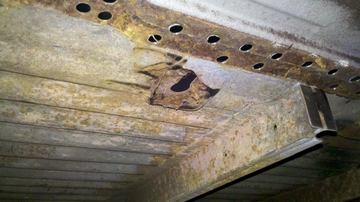 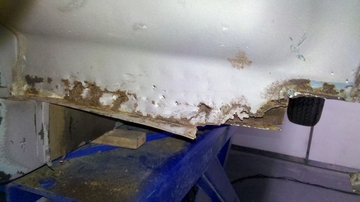 Here is around half the panels needed! 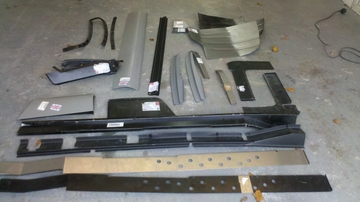 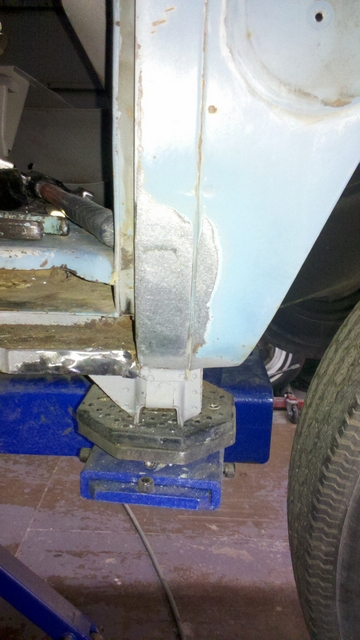  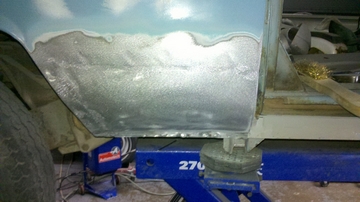 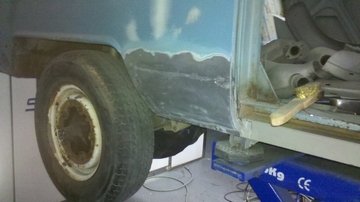 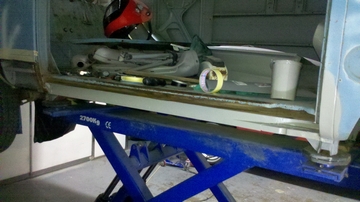 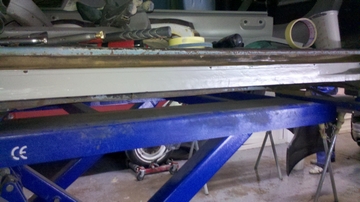 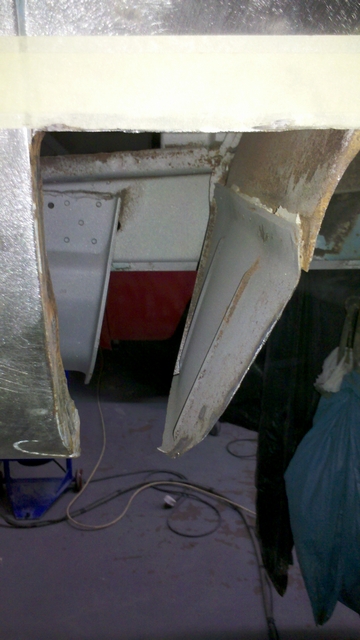 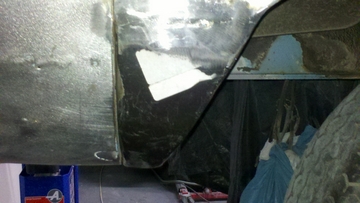 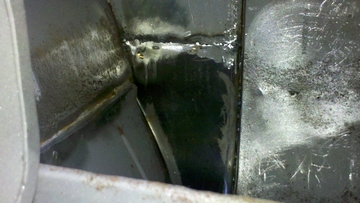 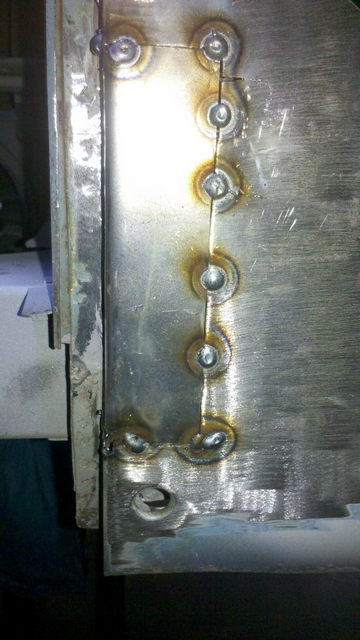 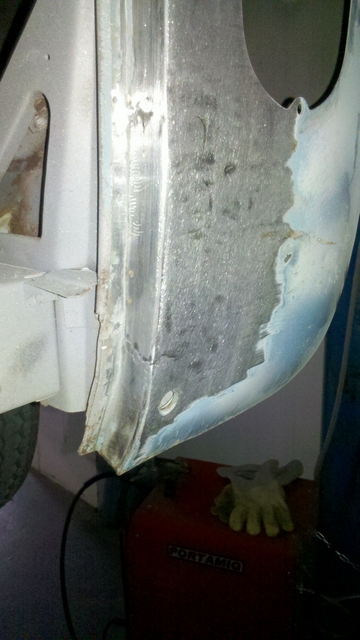 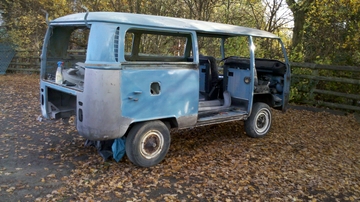 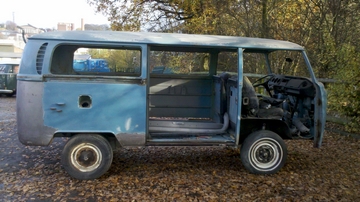 All parts blasted 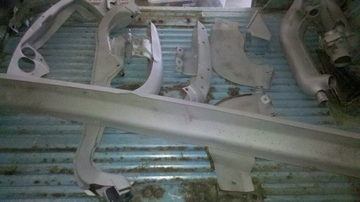 All parts baked, Primed and baked again 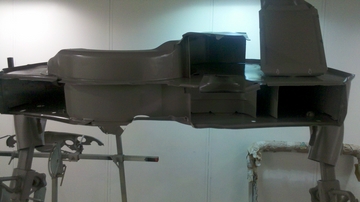 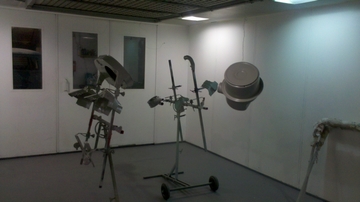 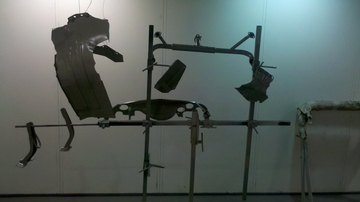 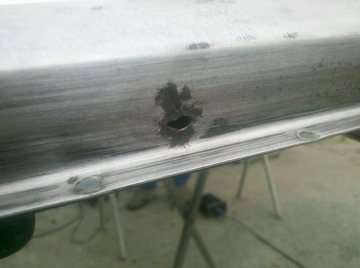 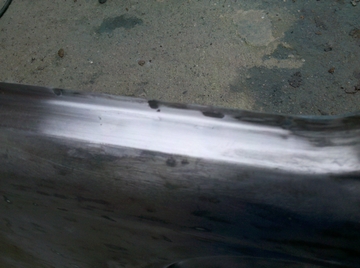 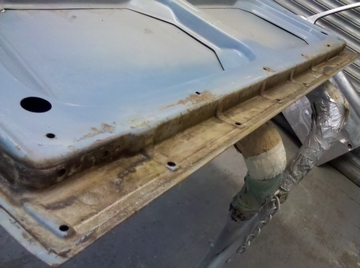 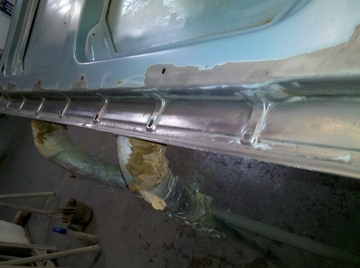 Panels bare metalled and dent pulled 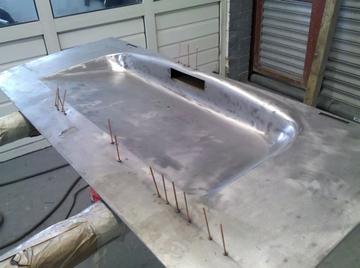 Remaining lows lead loaded 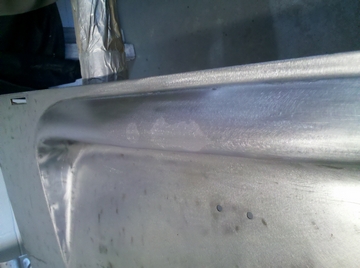 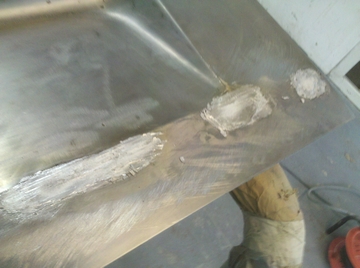  This engine tray was badly bent, almost like a banana 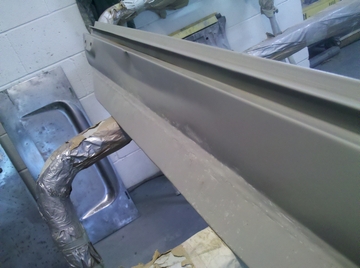 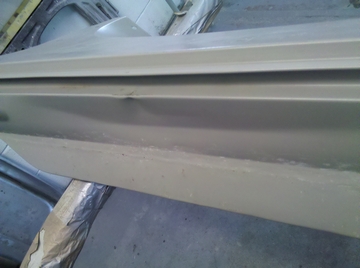 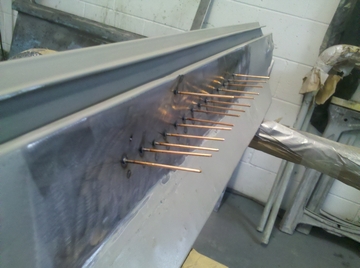 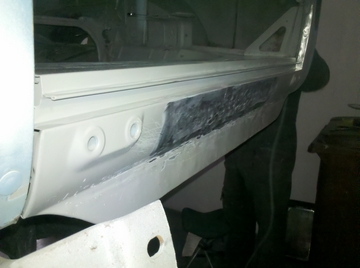 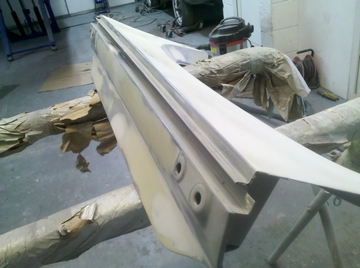 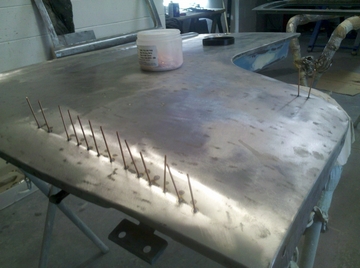 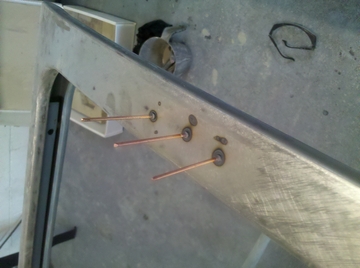 Pulled and loaded 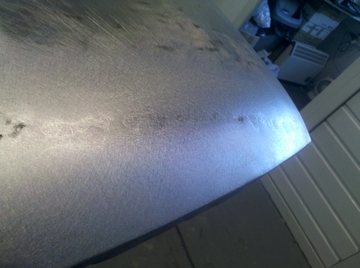 All panels phosphated with acid right before primer 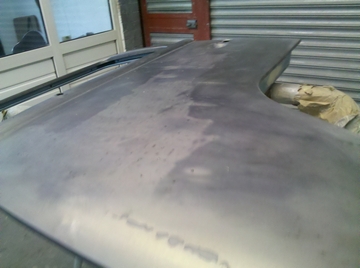 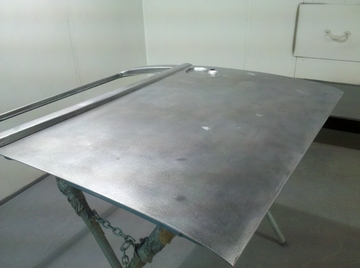 Door frame re sealed to the skin, this adds more strength and stops it popping 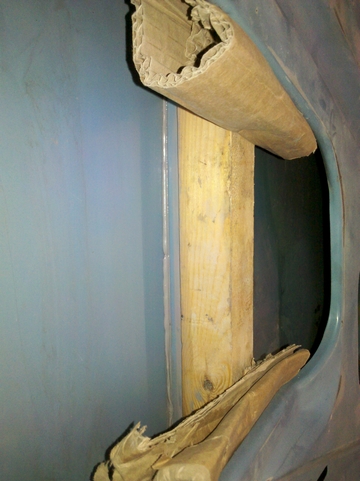 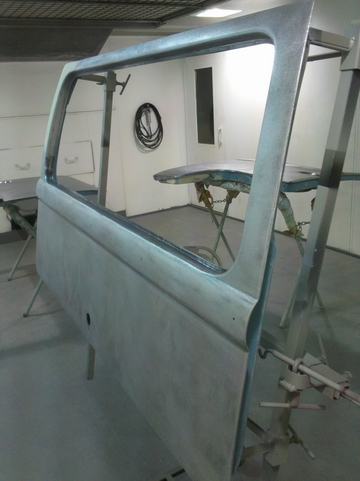 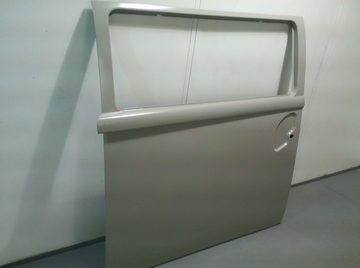 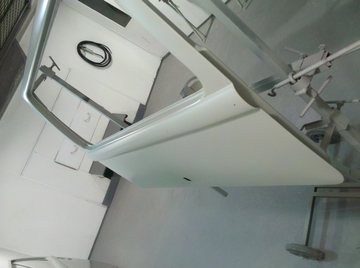 Battery tray welded in place 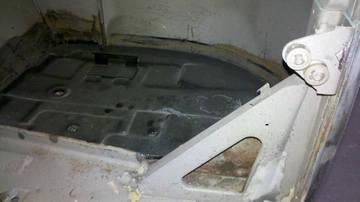 Engine bay blasted looking a lot more solid! 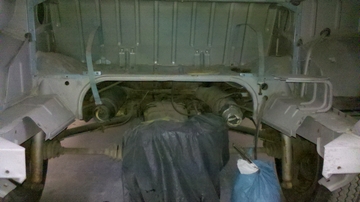 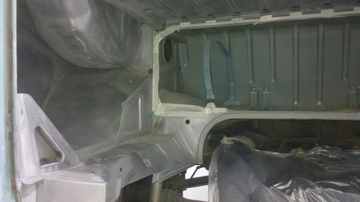 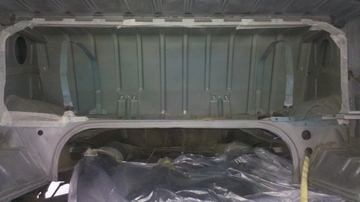 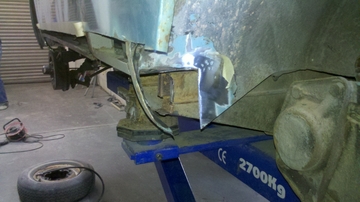 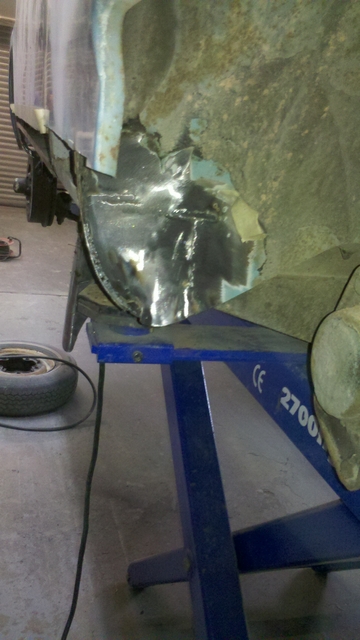 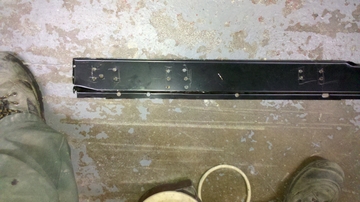  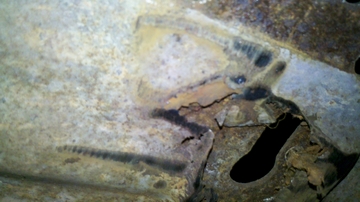 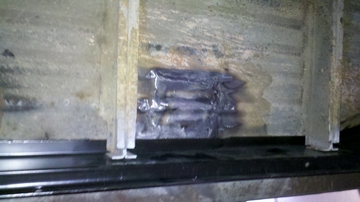 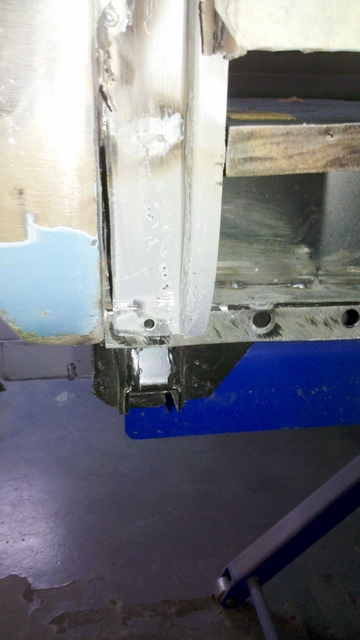 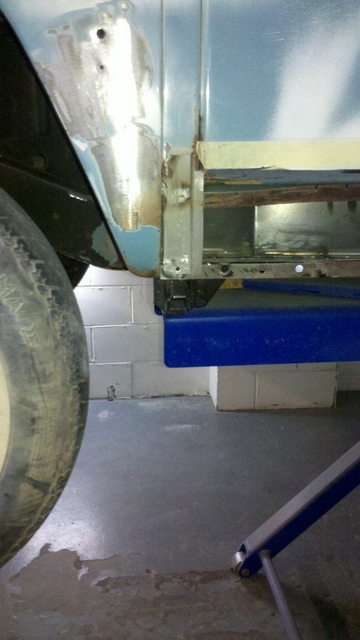 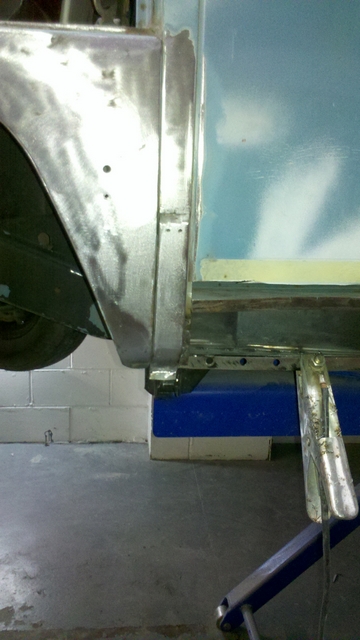 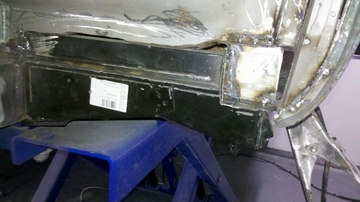 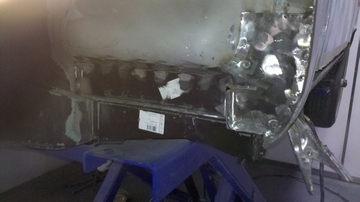 All sealed and baked   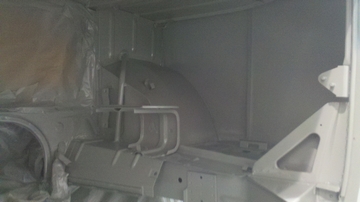 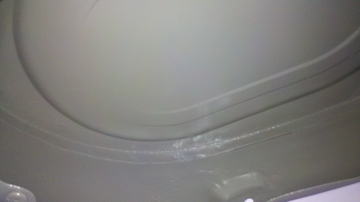 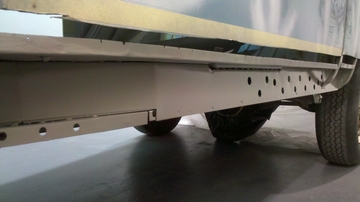 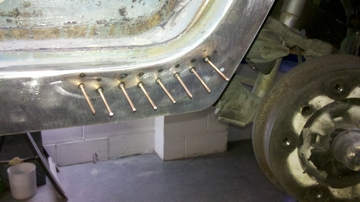 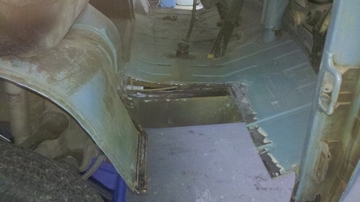 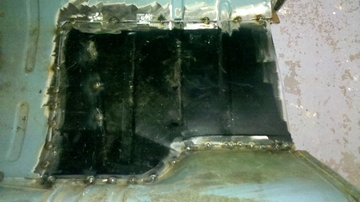 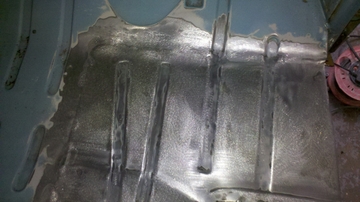 Front floor N/S will too need a section welded in as this is unsavable for a permanent repair 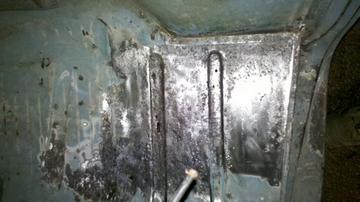 Windscreen edge Cut and welded 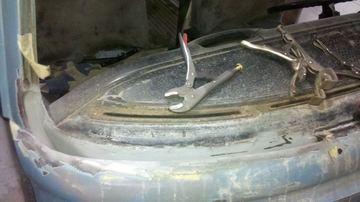 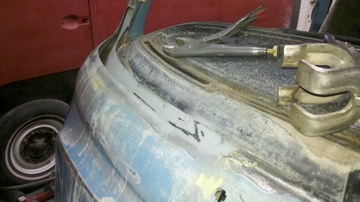 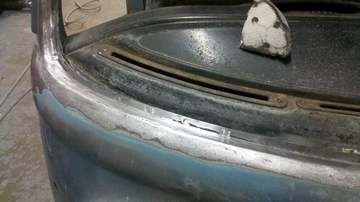 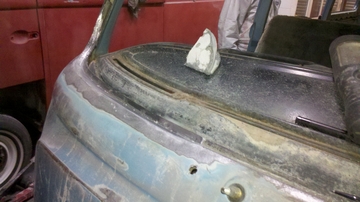 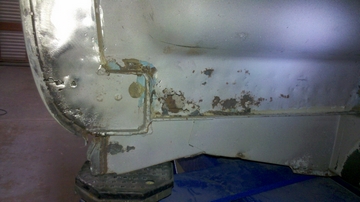 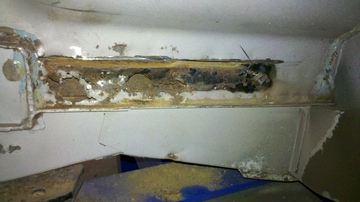 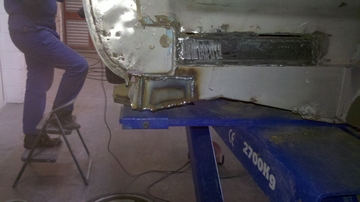 Panels baked before epoxy and 2k primer 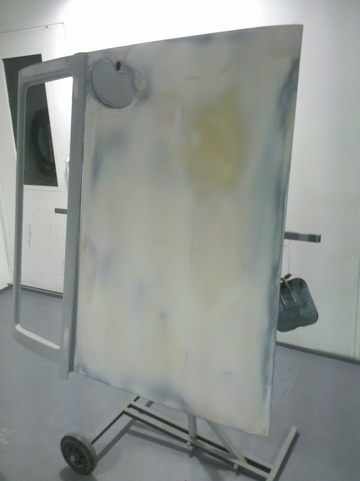 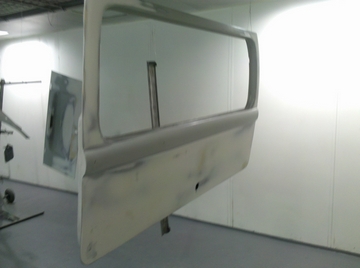 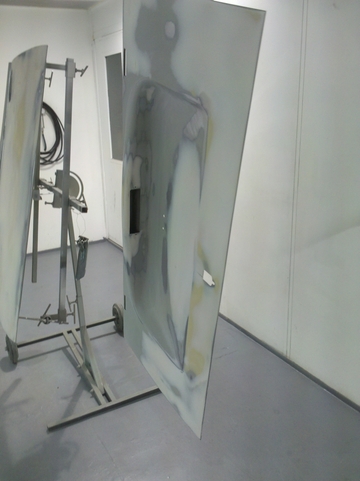 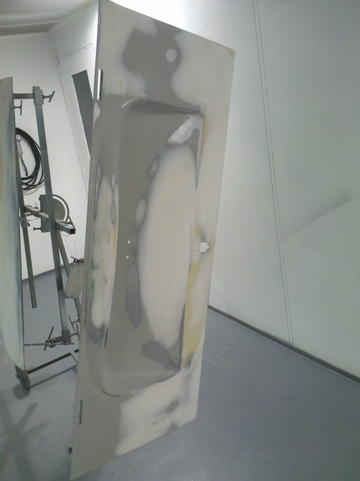 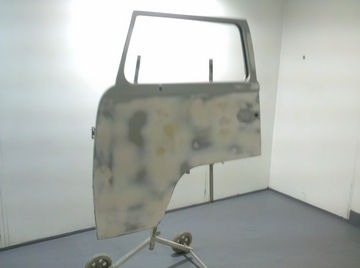 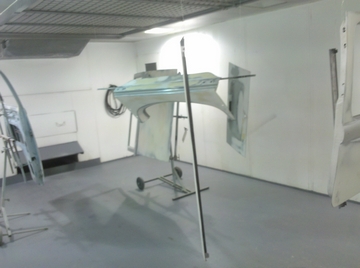  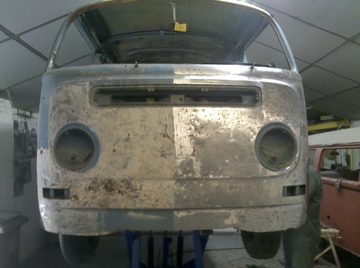 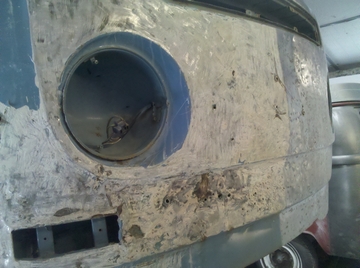 Template of the best part of the panel 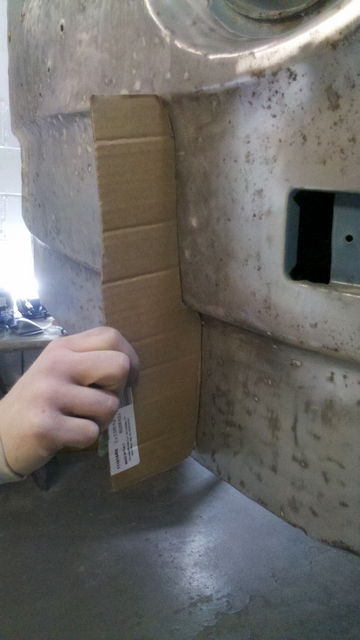 Thankyou America!  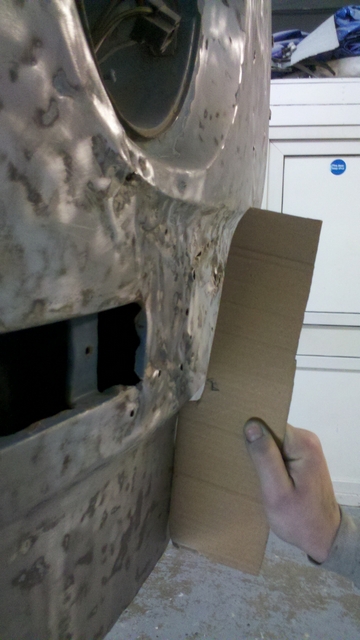 Huge difference here with the new inner and middle sill welded in! (Along side all the surrounding areas) Sill cover clamped up and welded on 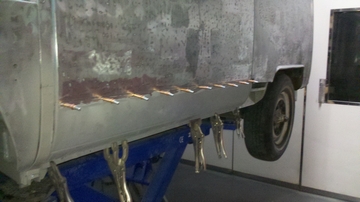 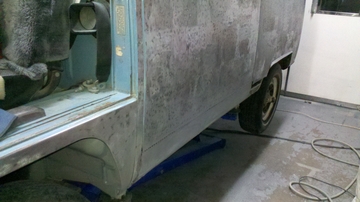 Rear wheel arch panel let in and welded in all with no warpage which is most inportant on a panel this size 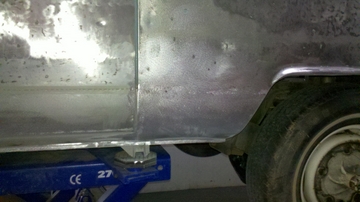 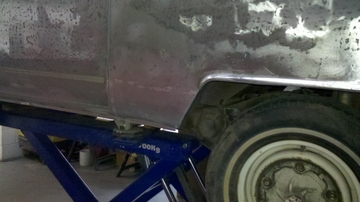 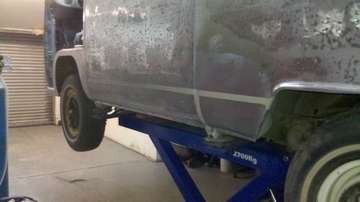 Floor cut out!  Floor clamped up and spotted! 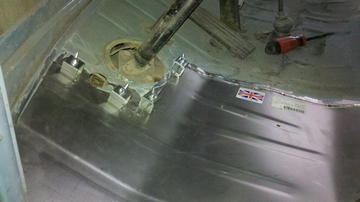 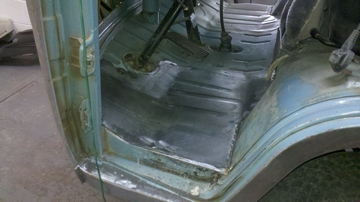 Lower front indicator housing cut out 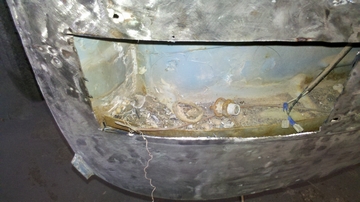 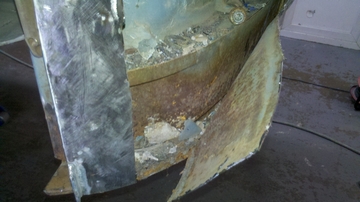  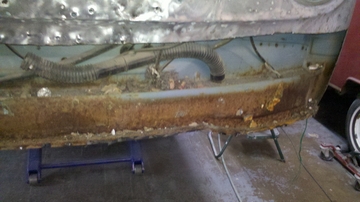 This is what fell out of the front 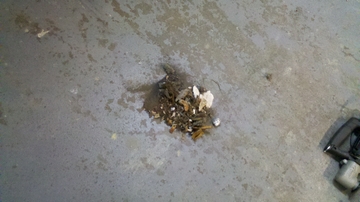 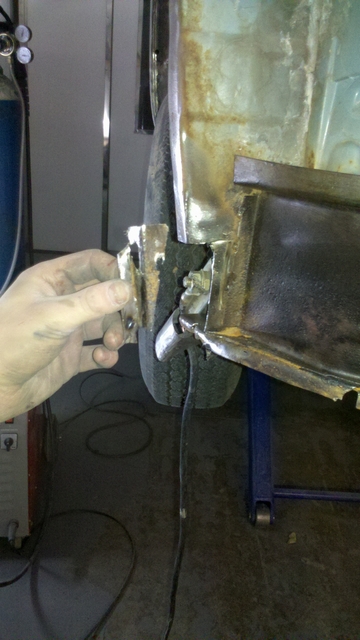  Indicator supprts welded in 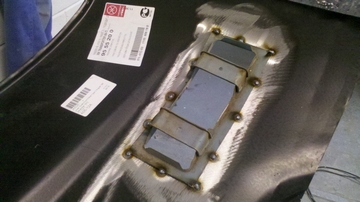 Sealed  Rust clean 'n" stripped and treated 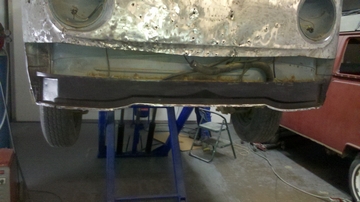 Epoxied! 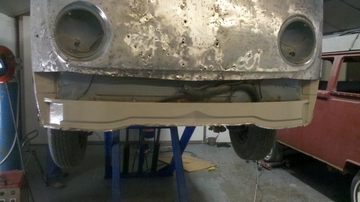 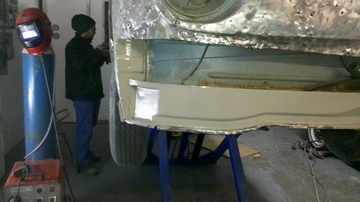  Panel shaved to shape 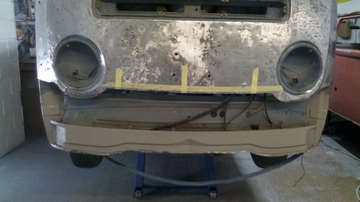 Panel let up and manipulated until correct fit 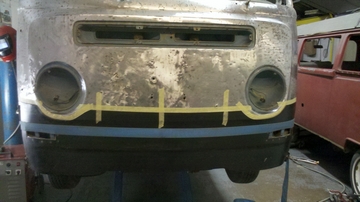 Welded and futher panel beated. 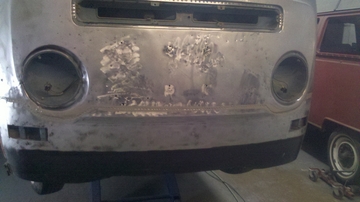 We fitted our temporary donor door whilst awaiting the new one and then realized the accident had pushed further than it seemed. We then pushed the aperture into its correct position. 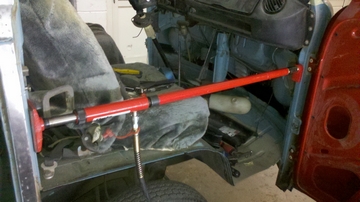 That's better! 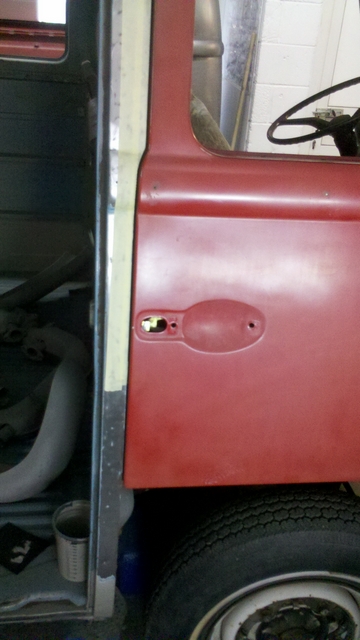 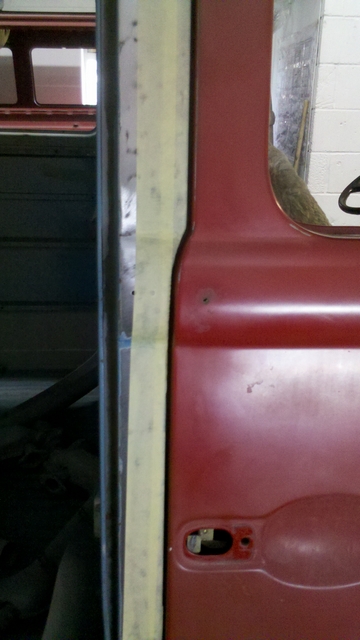 We then had to shave up both edges to the correct gaps! 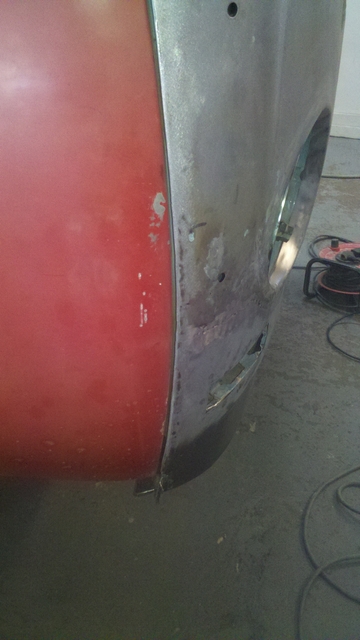 Front middle epoxied and shaped ! 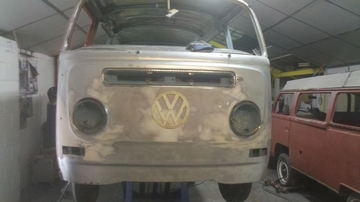 Both rear quaters had badly been stretched making the inner skin impression on the outer. These are difficult areas as there is little acess behind. We had to stud weld and heat shrink them before we could beat them out. 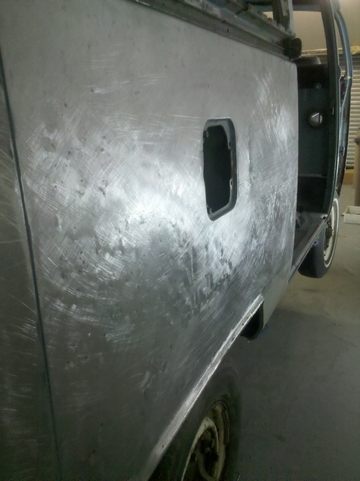  Little filler needed here! 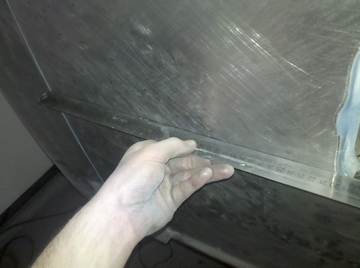 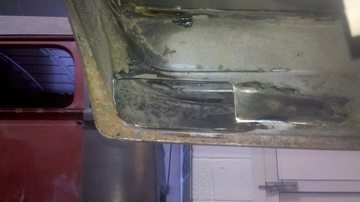 Panel made to fit the original N/S inner arch step 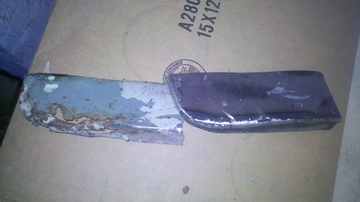 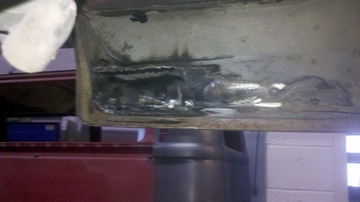 Headlight bowls flatted and found this under the top coat Strange considering this is a 69 ??? 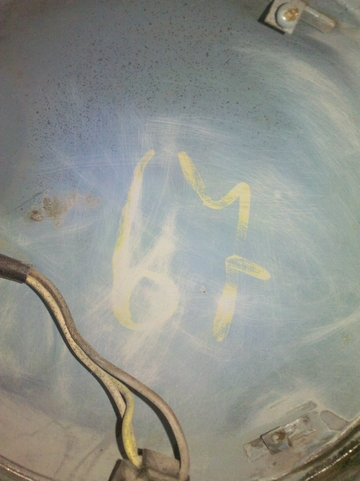 Original N/S door fitted and hung to double check the gapping! 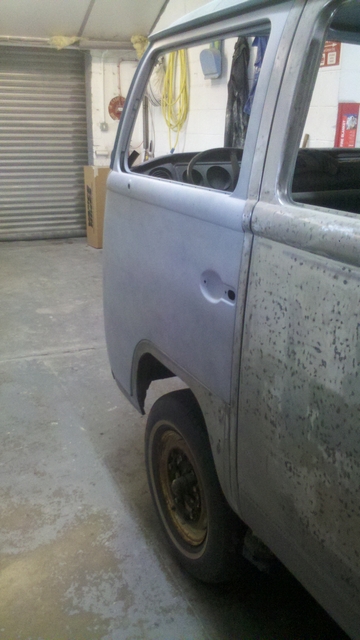
|
||
Comments ( 6 ) - Add Your Comment
|
||
When Drew and Stuart are doing the work you don`t have to hope. It will turn out very straight and gleaming.
by Melv on 13 December 2011 20:38 |

Its Coming On Gents,
Looking Good.
by G on 10 January 2012 0:1 Looking Good.
Wow seen less dimples on a teenagers face.........looks like she needs a face lift!
by Rp on 19 January 2012 14:8
Great job fellas. Body man myself, good to see decent repair work.
by Big c on 16 February 2012 14:5
Great work , wished i had found you lads earlier, rather than the show painters/ bullshitters who f**ked up my bus and charged me a arm and leg to do it. Please check these guys work out "wished I had“.
Sam
by Sam on 26 February 2012 13:21 Sam


