Sitewide Search
What's new.../ Gallery
- 28 Dec 2012
1972 Stock Westy - 27 Nov 2012
Gareth's 21 Window Samba - 20 Nov 2012
The Beast Is Back ! - RSS Feed

- More >>>
More Info
How to...
Projects
Gallery/Resources
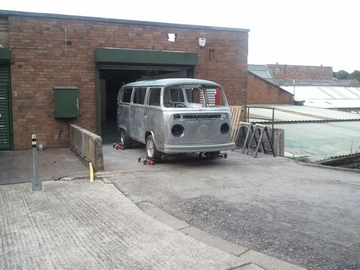
Daffy the 1972 VW baywindowposted on 14 July 2010 | posted in Daffy the 1972 VW baywindow | ( 2 ) CommentsThis Westy is in for a full bare metal Re paint. We have got to carry out the body repairs, minor welding where needed, Re skin a door and give it a full hit in White over Yellow, Heres how we got it after Simon and hannah have replaced some of the panels . 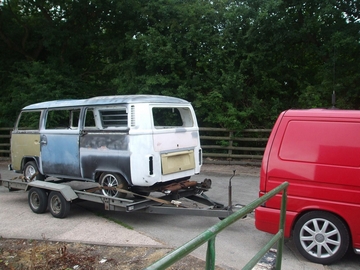 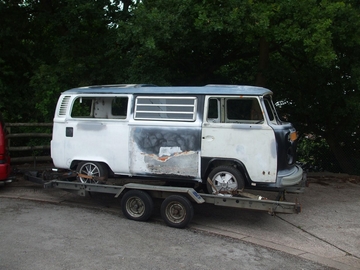 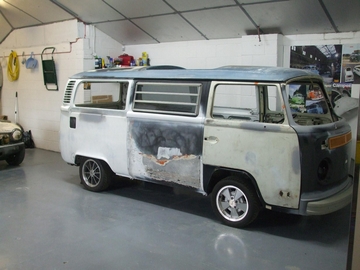 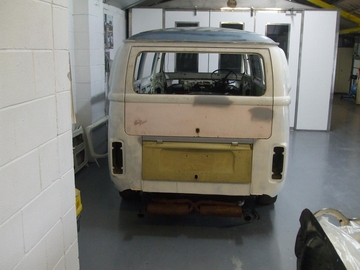 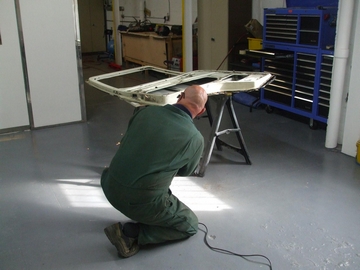 Removing old door skin spot welds 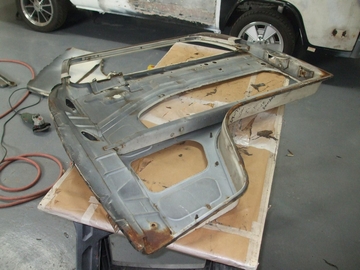 Door skin off and has revealed slight corrosion along the bottom edge. We will Remove this, coat it with dinatrol rc900 and give it a coat of acid etch before re assembled. 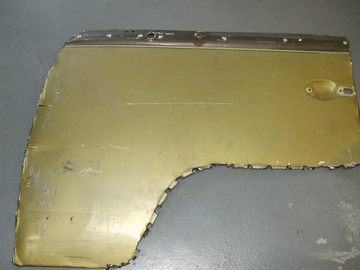 Old skin 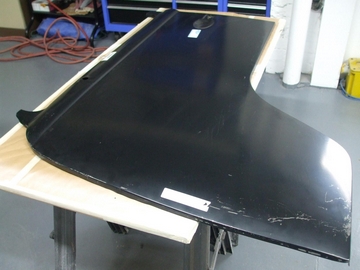 The old frame removed and place in the new skin! 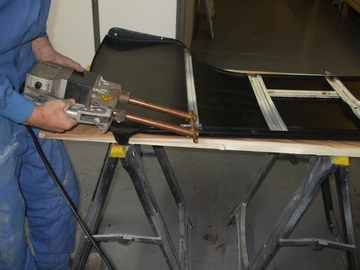 The strengthener frame placed in and spot welded 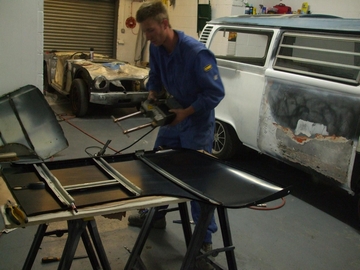 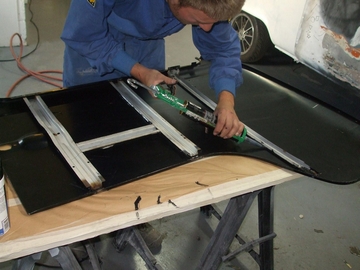 Here we have sealed the skin to the frame to keep them close together and stiff, which will stop moisture and further corrosion getting between them. 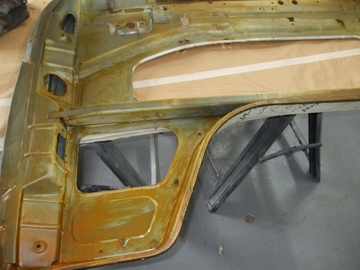 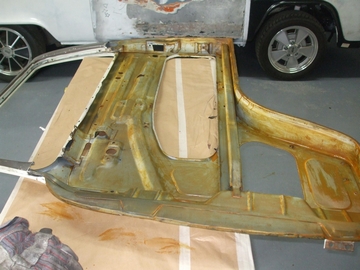 Doors Etched for extra protection inside 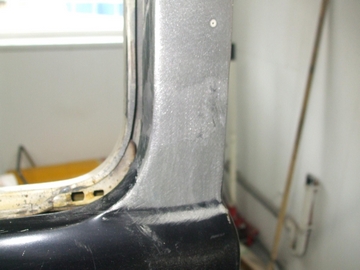 Skin on and Welded up after lots of nocking and pulling to get it to fit. 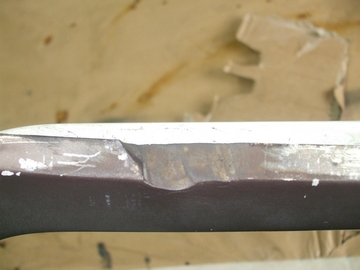 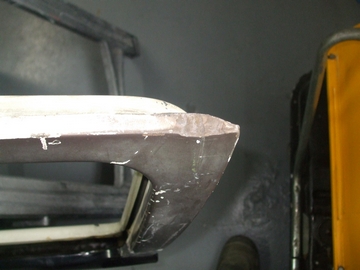 Chunks out of the top edges of the doors 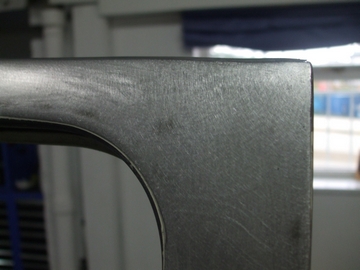 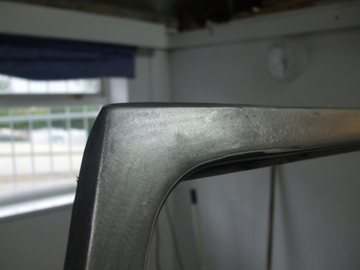 Lead Loaded 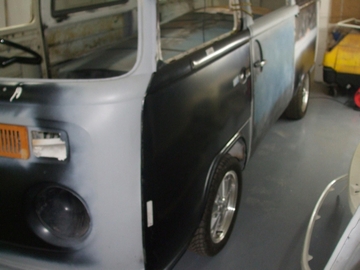 Door trial fitment and aligned, This side had a big gap and the other the door catched 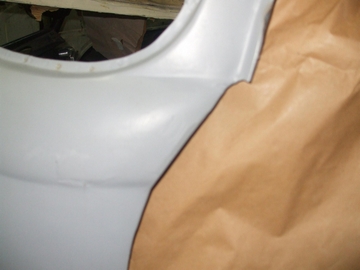 We started to adress why the doors werent fitting right and it seems the repoduction front panel was poor quality. 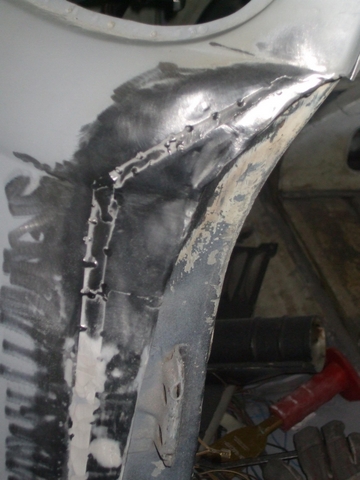 We ground the primer off and found it had been stretched to fit 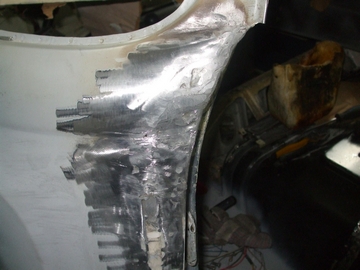 Here We have started to lead load the gaps and shape the contour as its on the corner lead will be stronger than filler. 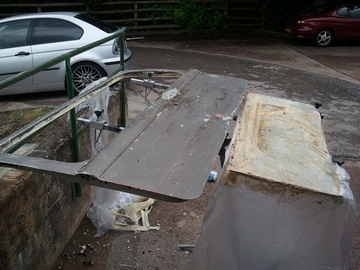 Starting the bare metalling process 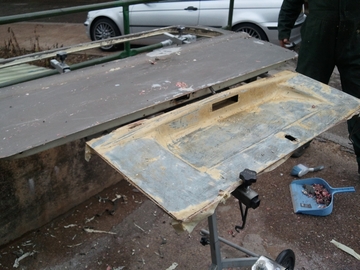 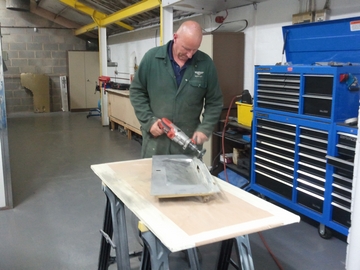 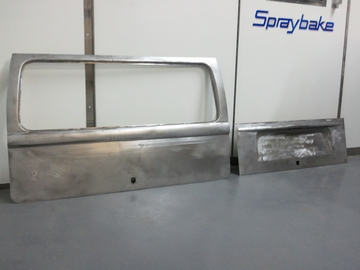 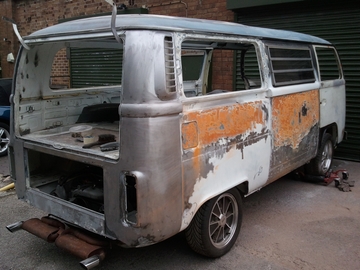 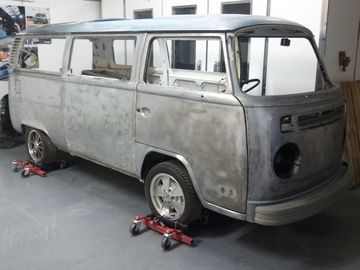 Cleaned with acid, wire brush and treated with dinatrol rc900 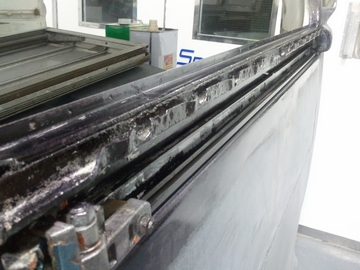 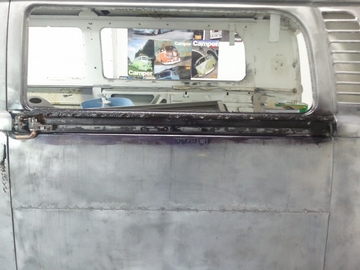 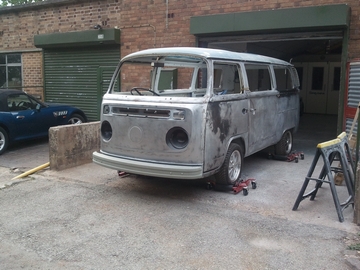
Previous repair on the bottom of the sliding door 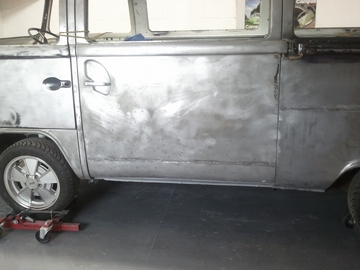 Door appatures 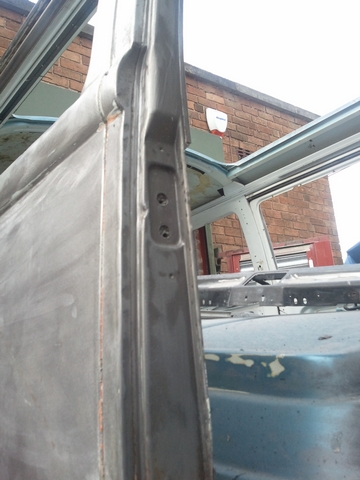 Before the cleaning process 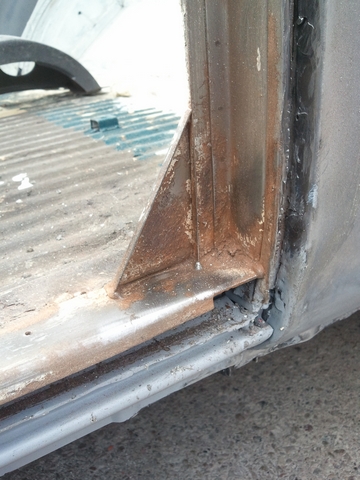 ` `Underneath 7 layers of paint 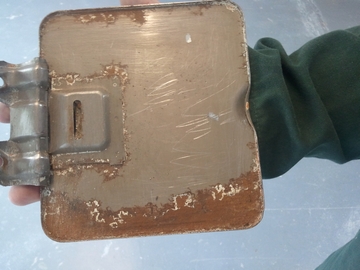 Previous repairs cleaned ready for lead loading 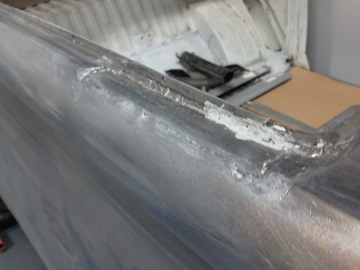 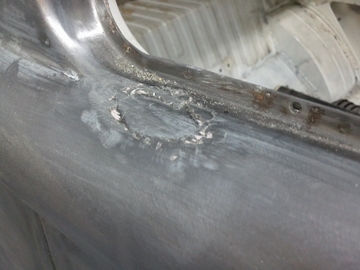 Lead loaded 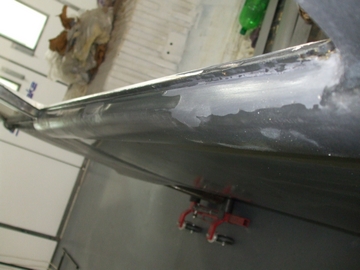 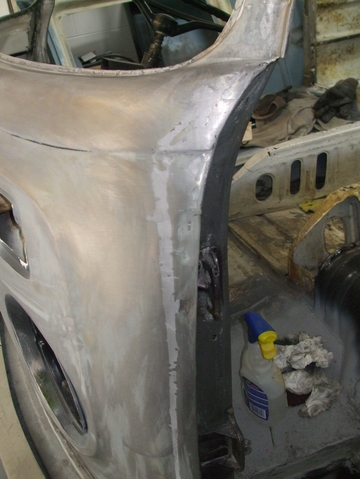 Badge holes marked and drilled and ariel drilled filed and fitted 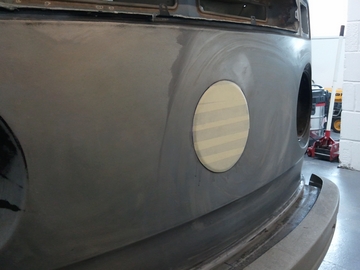 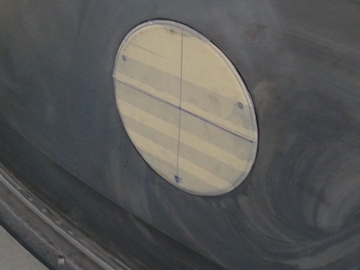 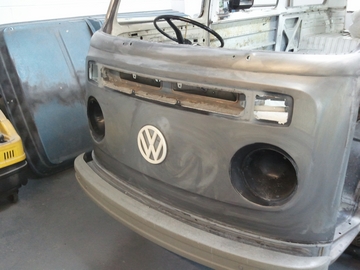 Here we are trying to push the front a little to stop the door hitting the post. It has improved a lot and just needs adjusting a bit more 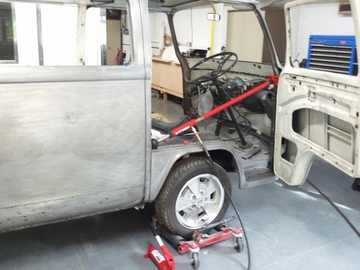 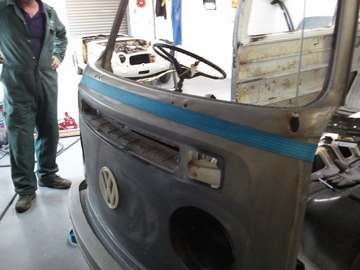 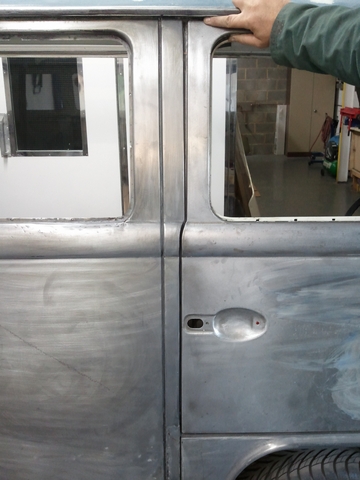 Here we have started to alter the gap a little with lead to get a better fit and shape 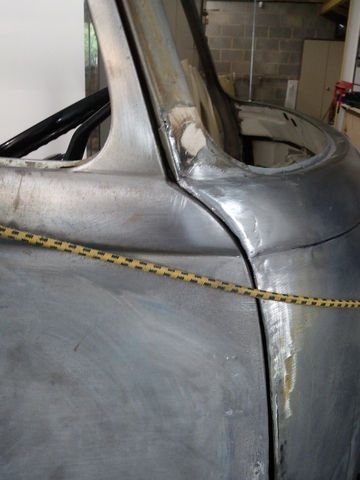 This is the Sliding door after we removed the filler and paint, Whats scary is this door looked solid with the paint build it had on. It just shows that the only right way for this van was a bare metal repaint 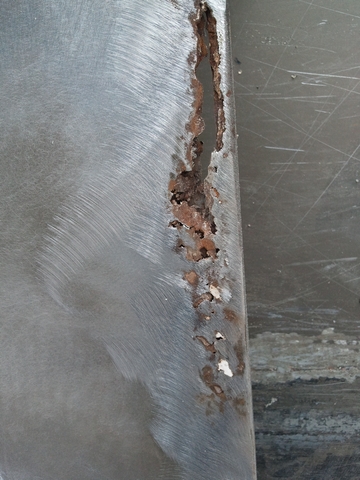 Inside 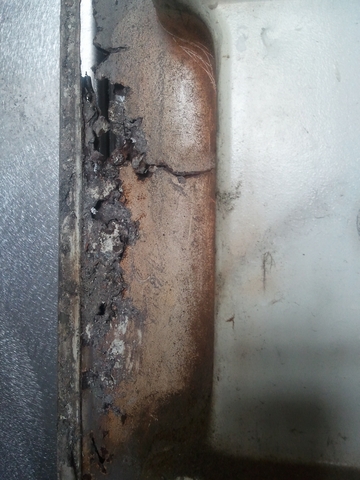 Here i have cut away the rot from the first skin 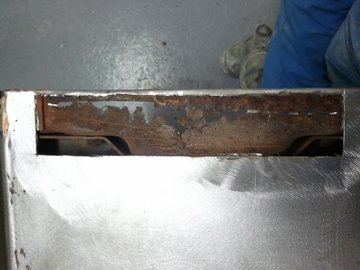 Inner Skin cut out too  Here i have welded in a new inner skin and treated it with dinatrol rc900 coverter/primer 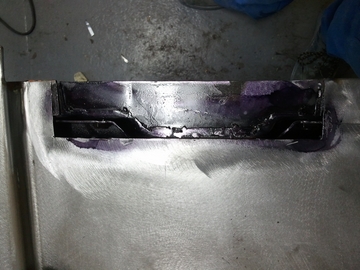 Outer skin cut to shape and folded around the edge and over the inner skin to match the original shape. The gooey stuff is Cold front which stops heat travelling through the panel, This is now ready for fully welding. 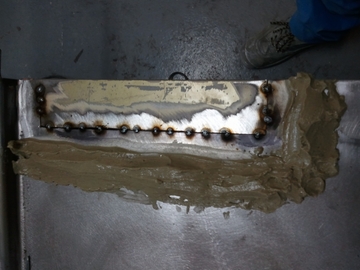 The Finished Repair 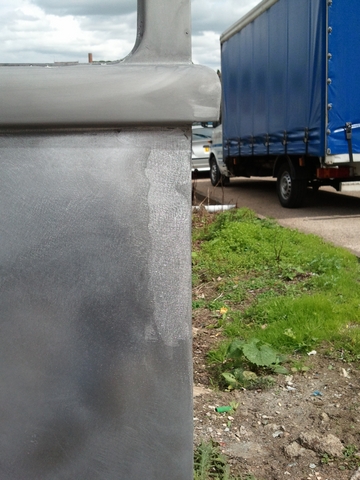 Welded in and lead loaded so little filler is needed to smooth into the panel. 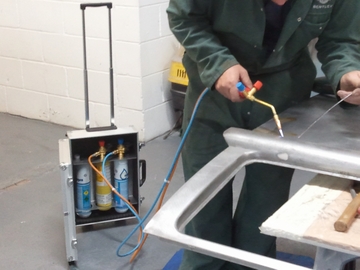 More pics to follow !!!! Inside the bottom edge of the sliding door before treatment. 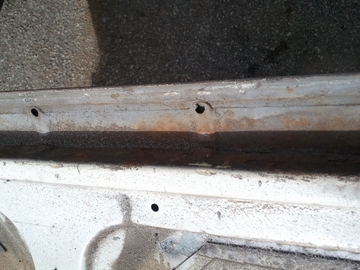 Treated ! 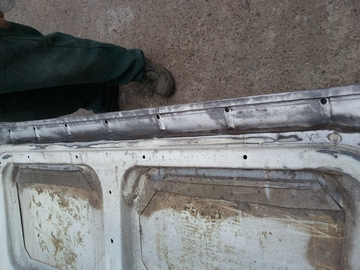 Today we have strengthened the roof with heat shrinking as it was very weak due to a spare wheel being repeatidly thrown on top ! Here We have started to continuous weld the repair panels 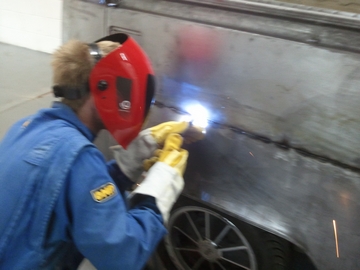 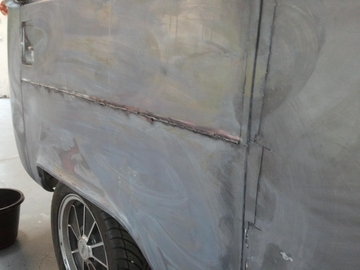 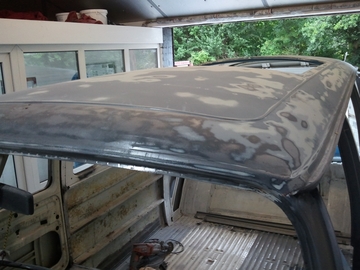 After We dealt with the weak roof we started to deal with the big creases. We also have started to deal with the larger dents,creases and finish some parts of welding to get it ready for its second stage of protection. 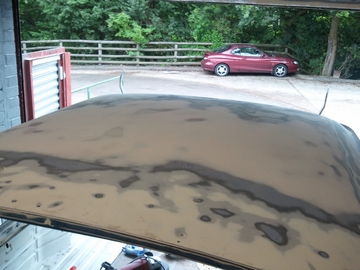 Some of the larger Repairs sorted, Now awaiting minor repairs to be completed. 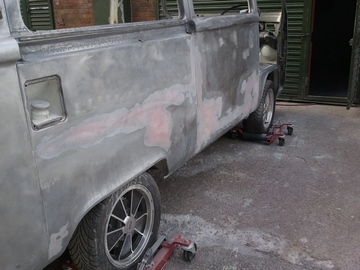 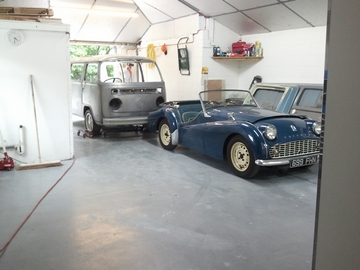 Panels cleaned ready for the third stage of protection. 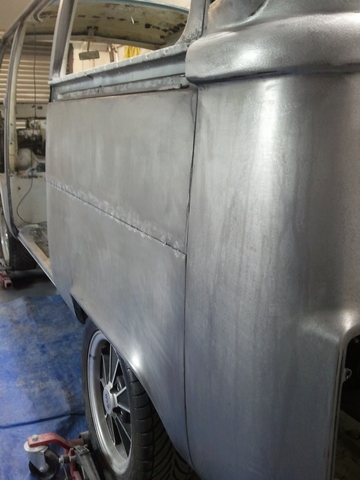 We have also been heat shrinking some of the oil canning pannels. 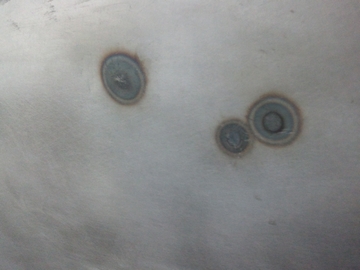 Few more bits of rust found and dealt with 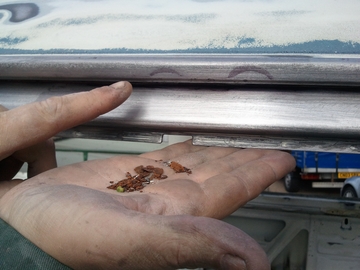 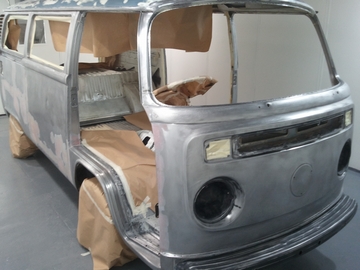 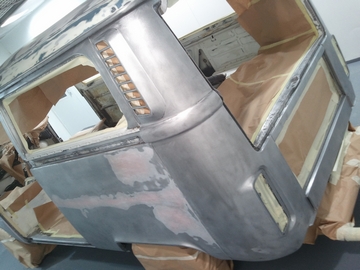 Corrosion protection completed, now ready for more filler work to get the panels into true shape 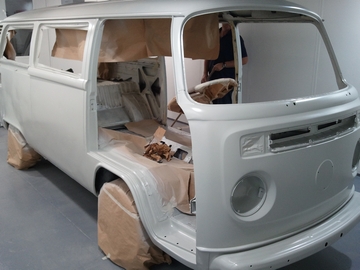 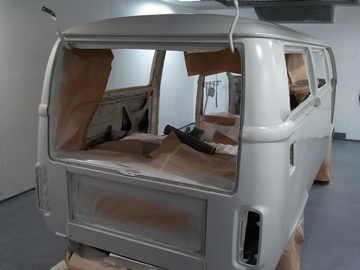 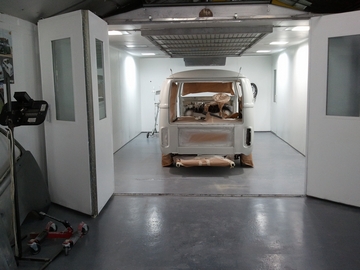 Here we have been leveling the sides as they were badly rippled almost corrugated, the most hard and time consuming bit so far !! 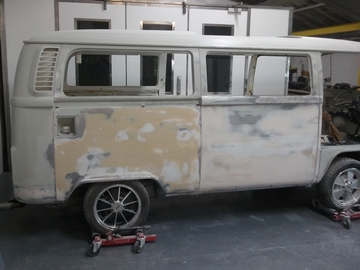  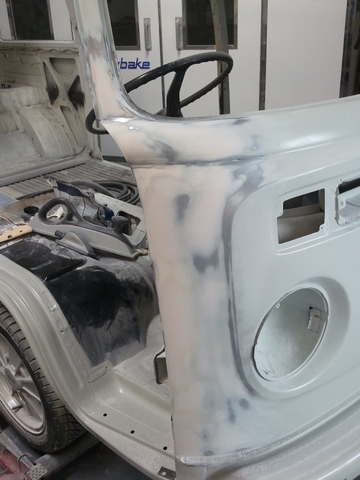 Doors strectched atleast an inch using lead at the bottom to get a better gap !
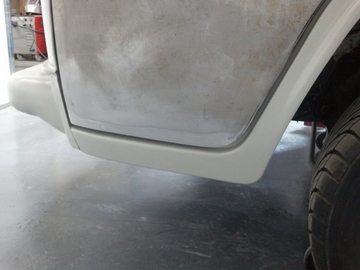
Panels protected with epoxy now ready for repairing! 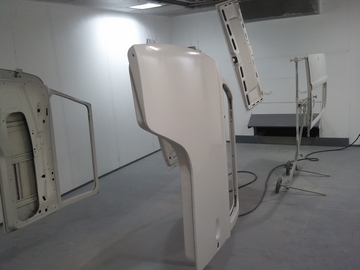 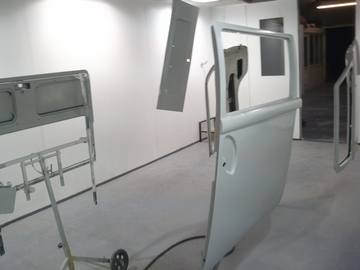 Half way through shaping the other wheel arch panel 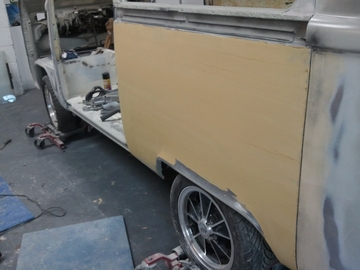 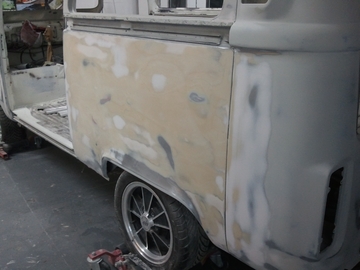 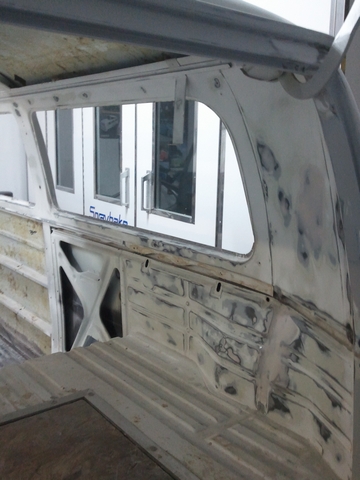 Inside rubbed down by hand, blisters to prove. 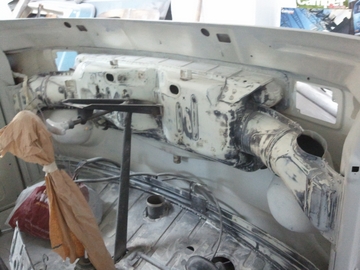 And ahead with the 2k primer. 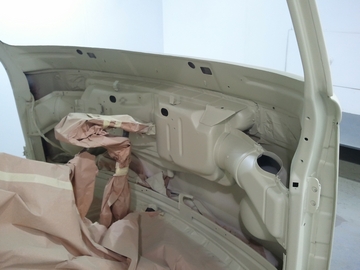 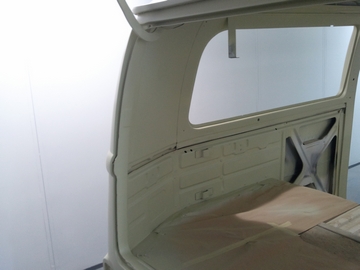 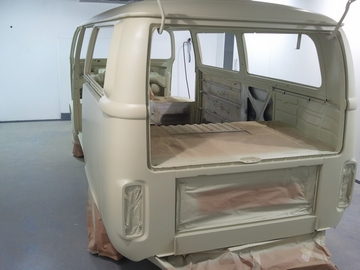 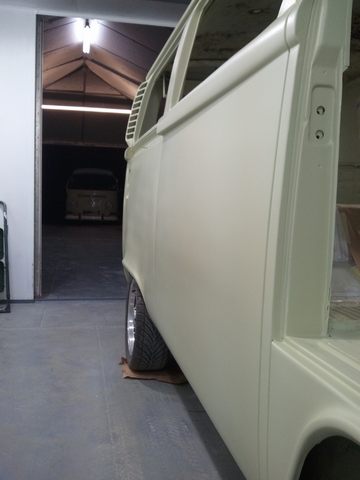 Now ready for a coat of flat guide and block sanding 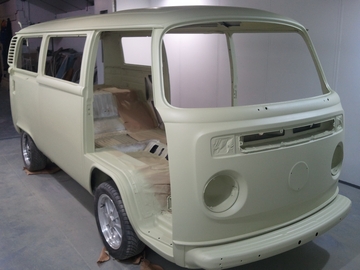 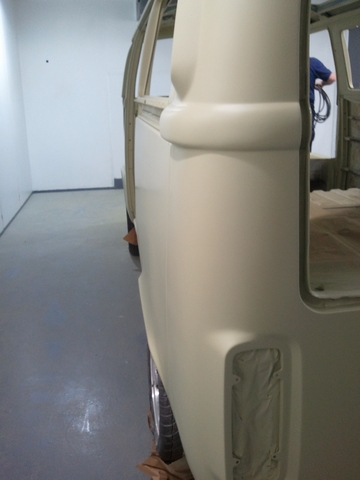 Panels now primered After all the grief of getting them streight 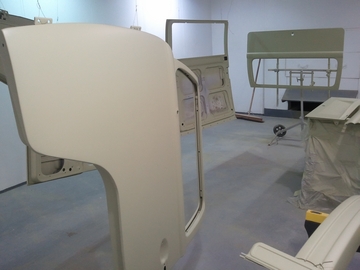 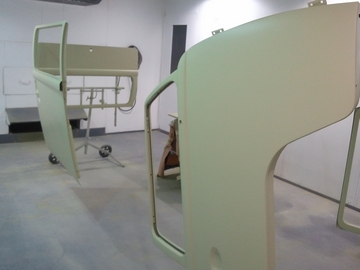 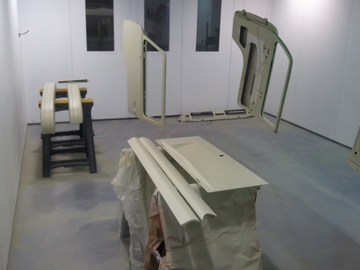 Here we have started to coat the insides in pastel white, stated for the year of this vehicle, however we decided that this would not work with the yellow and changed to VW cloud white. 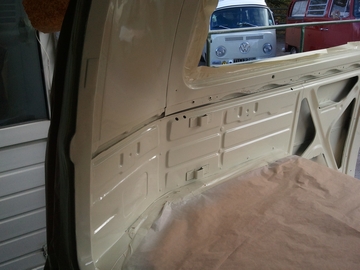 Re-flatted and coated again 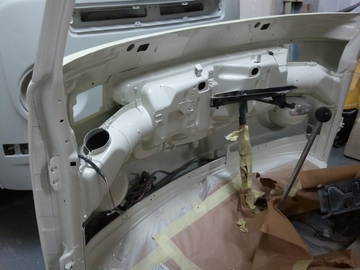 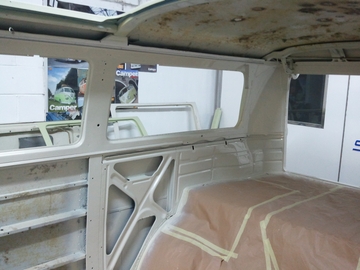 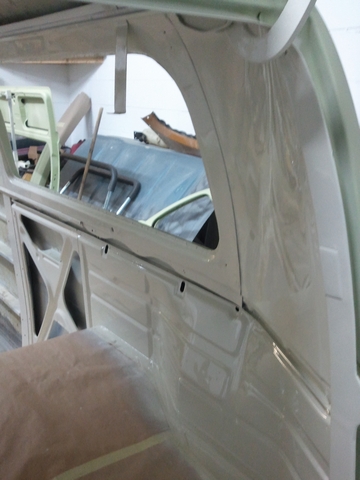 Rolled into the booth for body colour 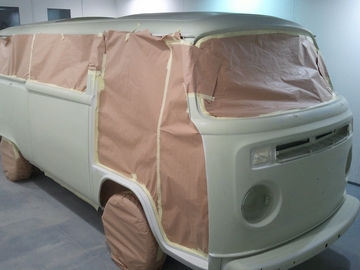 All seems sealed for the perfect depth and finish 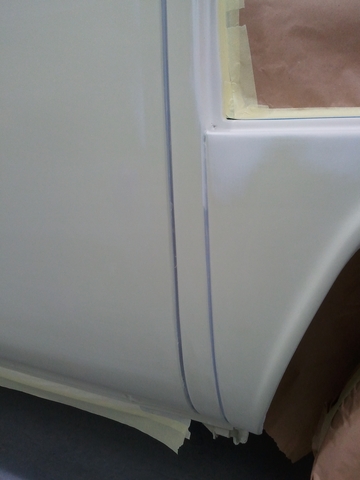  Looking straight! 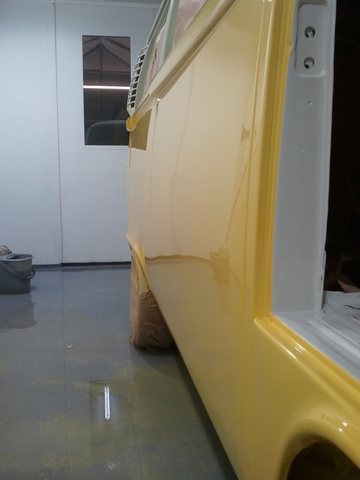 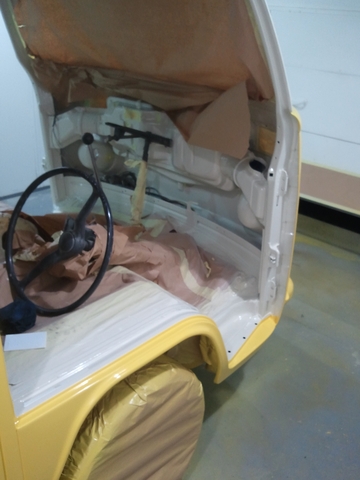 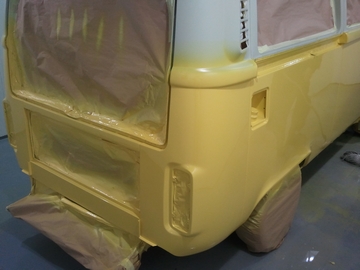 Doors re-hung to get the belly line straight due to the fun we had with the front panel 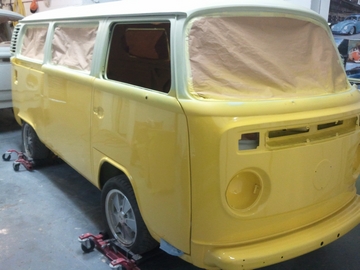 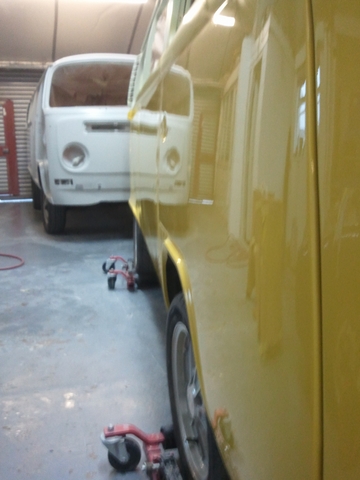 Re-masked, lined, and coated in cloud white 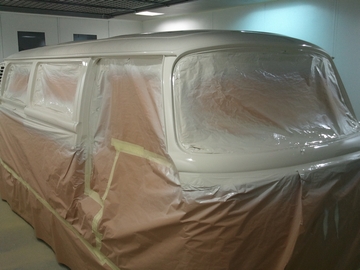 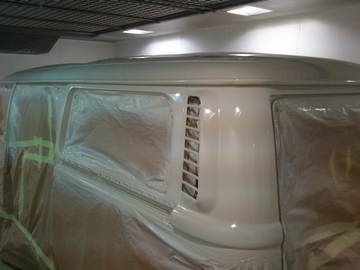  The un-masked out of the spray gun finnish 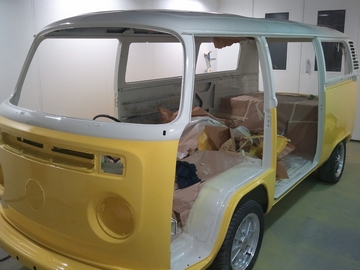 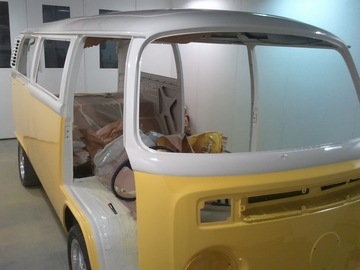 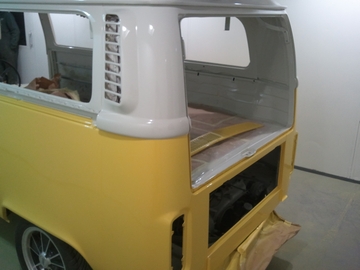 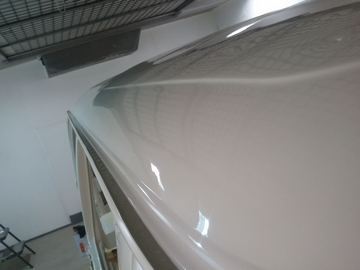 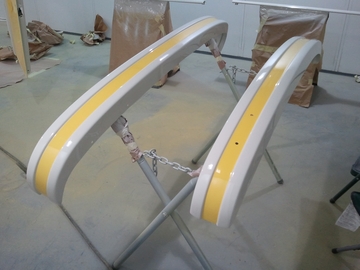 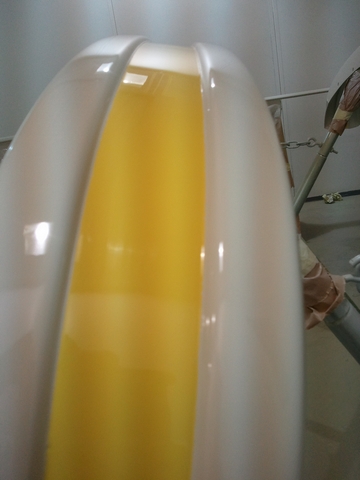 All skin edges followed with yellow 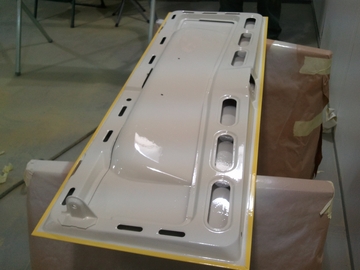 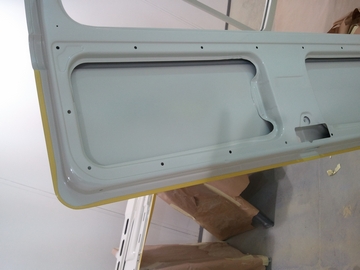 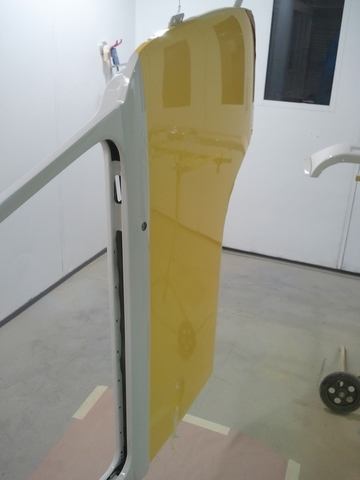 Fiberglass roof flatted and fiberglass repaired 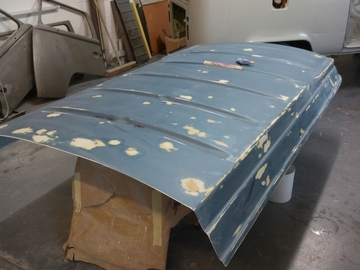 Sprayed with a sealer and flatted again 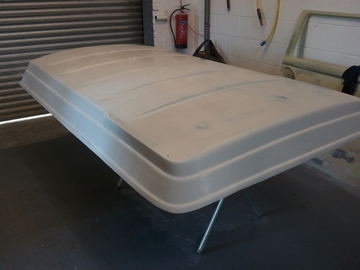 Job done! 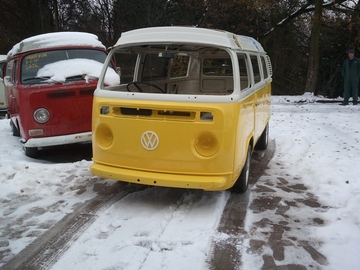 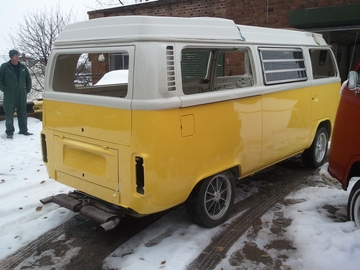 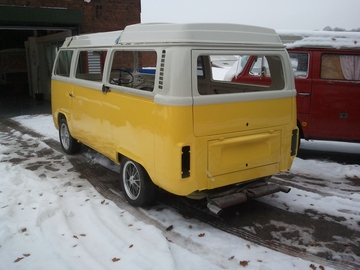 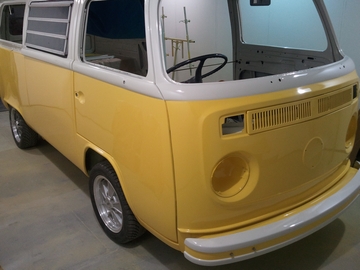 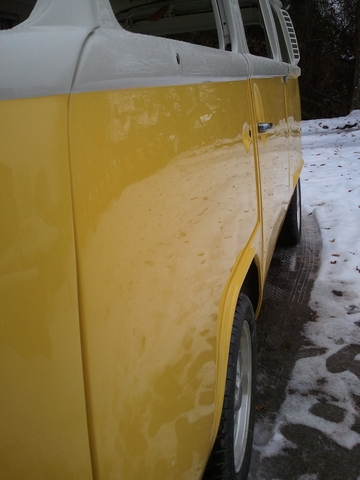 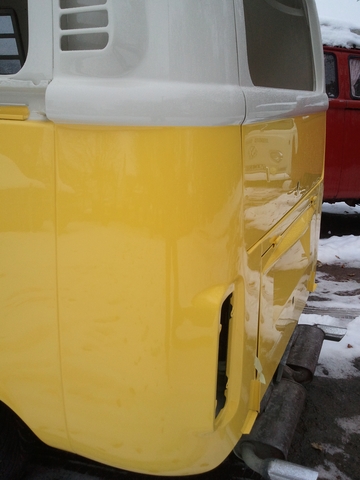
|
||
Comments ( 2 ) - Add Your Comment
|
||
WOW ! Hats off to you
by john on 21 August 2012 21:4 Very special |